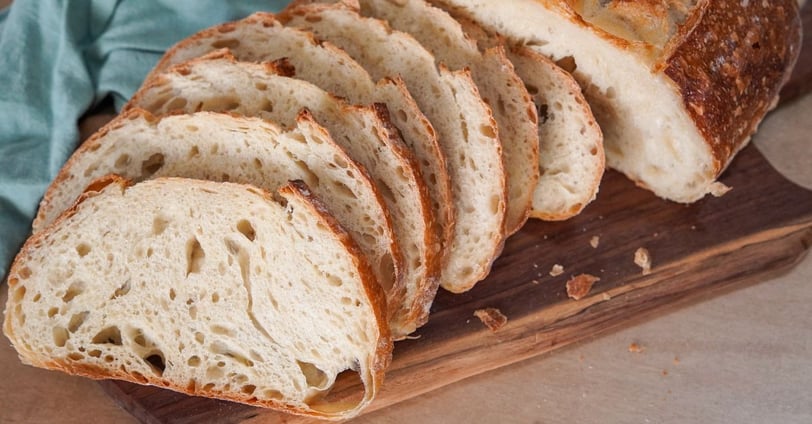
Step-by-Step Guide to Same Day Sourdough Bread
RECIPESSOURDOUGH BREAD
3/25/20252 min read


Getting Started with Sourdough Bread
Sourdough bread is not just a loaf; it’s an experience! With its tangy flavor and chewy crust, baking your own sourdough can feel incredibly rewarding. And don’t worry if you’re new to baking -- I’ve got a simple step-by-step recipe to help you make your own sourdough from scratch using an active sourdough starter. Let’s dive in!
What You’ll Need
Before you get your hands doughy, it’s time to gather all the essentials:
150g of active sourdough starter
300g of warm filtered or purified water
500g of all-purpose or bread flour (King Arthurs is preferred)
12g of salt
Make sure your sourdough starter is bubbly and active before you begin, as this will ensure your bread rises beautifully!
Step-by-Step Process
Now, let’s break down the steps to create your sourdough masterpiece:
Step 1: Mix the Ingredients
In a large mixing bowl, combine your active sourdough starter and warm water with a bread whisk. Stir until fully combined. Gradually add the flour and salt, mixing until the dough starts to come together. It may appear shaggy, but don’t worry; it will come together in the next step. Let your shaggy dough sit for 1 hour to rise.
Step 2: Stretch and Fold Method
Use the stretch and fold method instead of traditional kneading, which is very effective for sourdough! Do four sets of stretch and folds, letting your dough rise 30 minutes in between each one. Check out my blog post on how to do stretch and folds, linked here.
Step 3: Bulk Fermentation
After the 4th stretch and fold, place the dough back into a lightly greased bowl and cover it with a damp cloth or plastic wrap (I like to use plastic shower caps - I find these work best.) Allow it to rest in a warm place for 4-6 hours. You'll want to watch for the dough to roughly double in size. This is where the magic happens!
Step 4: Shape the Dough
Once your dough has risen, gently press it down to remove excess air. Transfer it to a floured counter, and shape it into a round or oval loaf by tucking the edges under. (I like to use the push and pull method to shape my sourdough loafs.) Remember to be gentle so you don’t deflate the dough too much!
Step 5: Second Rise
After shaping, let the dough rise again on the counter for 20 minutes. You can also pop it in the fridge overnight for a slower, more flavorful fermentation. After the 20 minutes, place your dough into your banneton bread proofing basket and place that covered in the fridge until your oven is preheated.
Step 6: Preheat and Bake
Preheat your oven to 450°F (232°C). Place a Dutch oven inside to heat up with the cover on. Once preheated, carefully transfer your loaf into the pot, score the top with a sharp knife or scorer, and cover. Bake for 30 minutes covered, then remove the cover for an additional 25-30 minutes for that lovely golden crust.
Enjoy Your Homemade Sourdough!
Once out of the oven, let your bread fully cool for 2 hours on a wire rack. Slicing into your freshly baked sourdough will be a delight you won’t forget. So pour yourself a cup of coffee, slather some butter on a slice, and enjoy your homemade goodness. Baking sourdough with an active starter can be a fun and satisfying project. Happy baking!
Sourdough
Explore delicious sourdough recipes and tips today!
Make sure to follow us on our social media platforms!
contact us
Sourdough
theivoryoven.co@gmail.com
© 2025. All rights reserved.
