Add your promotional text...

How to Create Your Own Sourdough Starter from Scratch in Just 7 Days
RECIPESSOURDOUGH STARTER
3/25/20254 min read
Understanding Sourdough Starter
A sourdough starter is a live culture of flour and water that captures wild yeast and bacteria from the environment. When combined, these microorganisms initiate a fermentation process that is essential for sourdough baking. Unlike commercial yeast, which is cultivated and packaged, a sourdough starter thrives on the unique balance of naturally occurring yeast and lactic acid bacteria. This synergy not only helps the dough rise but also contributes to the distinctive flavor profile and chewy texture characteristic of sourdough bread.
The fermentation process begins when flour is mixed with water, creating a paste that encourages both wild yeast and bacteria to ferment the sugars present in the flour. During this process, the yeast ferments the sugars, producing carbon dioxide that causes the dough to rise, while the bacteria produces lactic acid, contributing to the sour tang in the bread. This dual fermentation process is what sets sourdough apart from breads made with commercial yeast.
Maintaining a healthy sourdough starter is crucial for successful baking. A well-fed starter creates an ideal environment for yeast and bacteria to flourish, improving the flavor and texture of your bread. Regular feeding with fresh flour and water encourages a robust microbial community, ensuring active fermentation. Additionally, monitoring factors such as temperature and hydration level is vital, as they can impact the activity of your starter.
For those new to sourdough bread-making, understanding the intricacies of your starter is foundational. The balance of yeast and bacteria within your starter will evolve as you nurture it, directly influencing your baking results. By grasping the principles of sourdough starter and the fermentation process, one can embark on an enriching journey into the art of sourdough baking.
Gathering Ingredients and Materials
Creating a sourdough starter requires a few essential ingredients and materials that play a pivotal role in fostering the microorganisms necessary for fermentation. At the core of the starter lies flour, and selecting the right type is crucial. Commonly used options include all-purpose flour, whole wheat flour, and rye flour. All-purpose flour provides a balanced starting point, while whole wheat flour and rye flour are rich in nutrients and can accelerate the fermentation process due to their higher mineral content.
When it comes to water, the quality is just as significant as the flour choice. It is advisable to use non-chlorinated water, as chlorine can inhibit yeast growth, thus impacting the starter's ability to ferment properly. If your tap water is chlorinated, consider using filtered water or letting the tap water sit out for at least 24 hours to allow chlorine to dissipate.
In addition to the ingredients, certain tools and materials are essential for the successful implementation of your sourdough starter. A mixing bowl is necessary for combining the flour and water, while a kitchen scale is highly recommended to ensure precise measurements. Consistency in your ratios during the initial mixing is imperative for the starter's development. Finally, you will need a jar or container for storage; it should ideally be glass with a loose-fitting lid, allowing the gases produced during fermentation to escape while preventing contamination.
Choosing organic flour can further enhance the environment for yeast growth, as it typically contains fewer additives that could disrupt fermentation. In summary, the careful selection of flour, water quality, and the necessary tools will create an optimal setting to cultivate your sourdough starter.
Step-by-Step Guide to Creating Your Starter
Creating a sourdough starter from scratch is a rewarding process that requires patience and attention to detail. The journey typically spans about five to seven days, during which you will closely monitor the fermentation process. To begin, gather your materials: all-purpose flour, preferably organic, and filtered water at room temperature. You will create the starter using a 1:1:1 ratio of flour to water by weight, ensuring a consistent mixture.
On Day 1, combine 100 grams of flour with 100 grams of water in a clean glass container. Stir thoroughly until no dry flour remains and the mixture is smooth. Cover the bowl with a breathable cloth to prevent contamination while allowing air to circulate. Place the mixture in a warm, draft-free environment, ideally between 75°F and 85°F (24°C to 29°C).
On Day 2, you may not observe much activity; however, this is normal. After 24 hours, discard half of the mixture (around 100 grams) and add another 100 grams of flour and 100 grams of water to the remaining mixture, stirring until fully integrated. This feeding process helps to create a healthy balance of yeast and bacteria.
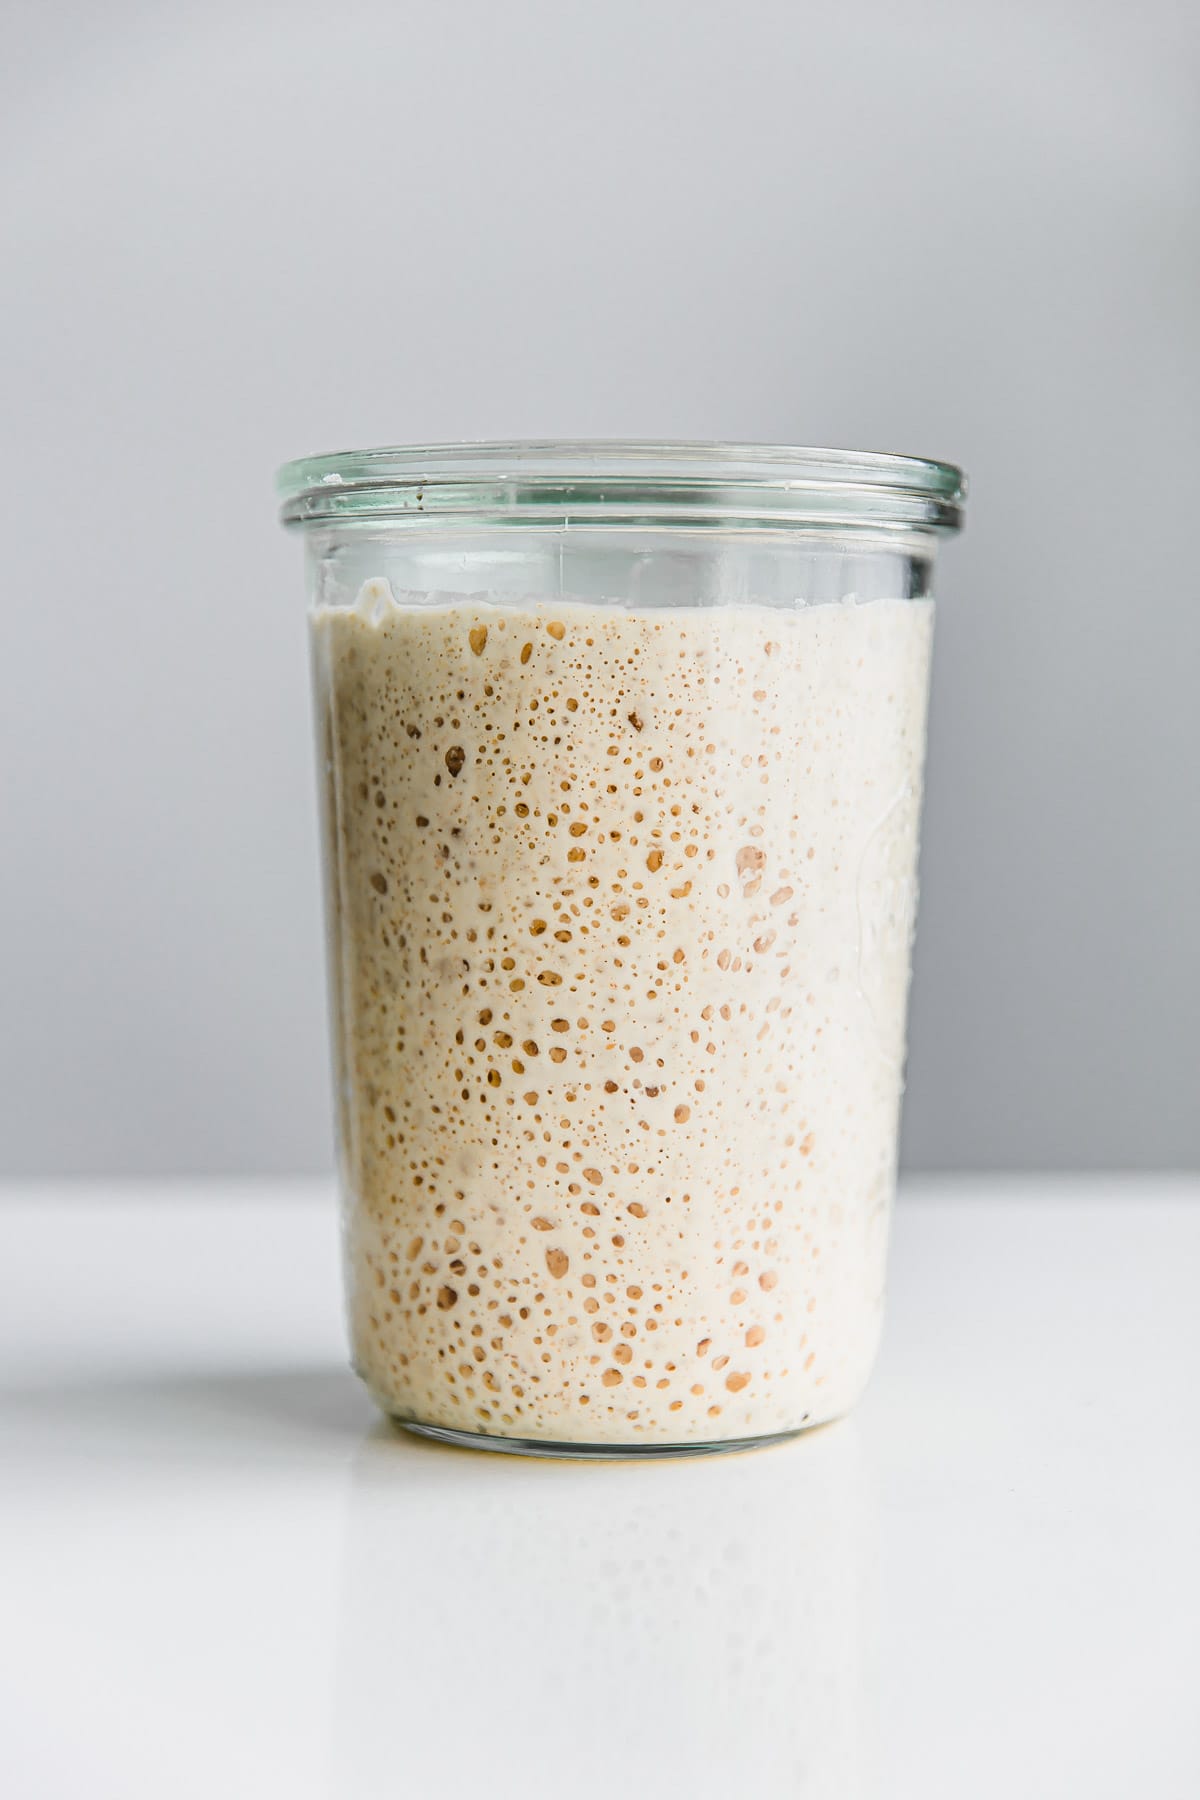
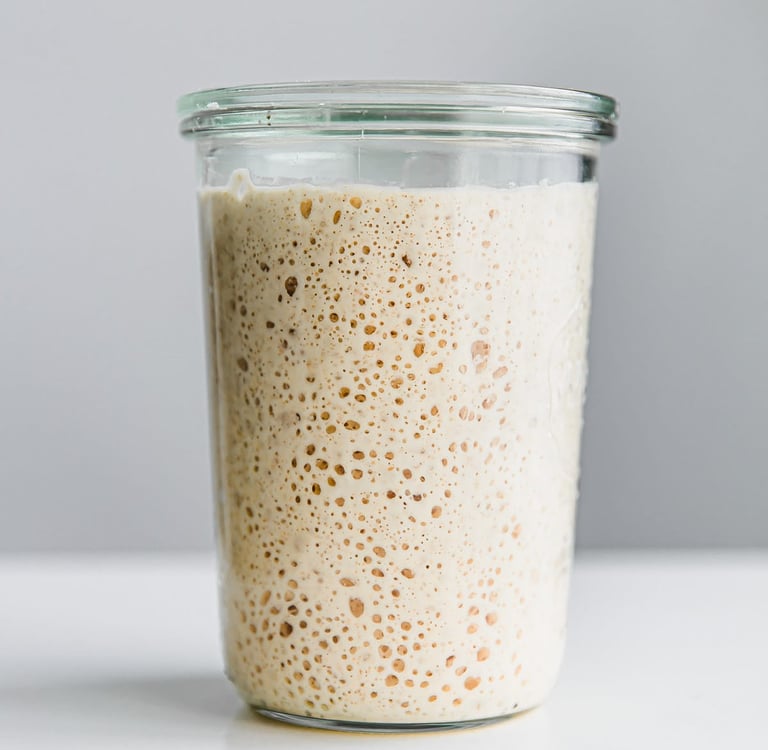
By Day 3, you should start noticing some bubbles forming. These indicate that fermentation is taking place. Continue the feeding routine daily, maintaining the same 1:1:1 ratio. On Day 4 and 5, the starter should become noticeably more active with increased bubbling, a tangy aroma, and a spongy texture.
By Day 6 or 7, your sourdough starter should have doubled in size within a few hours of feeding and possess a pleasant, sour scent. This is the time to perform the float test: take a spoonful of starter and drop it into a glass of water. If it floats, it’s ready for baking. If not, continue with the feeding schedule until you achieve the desired activity.
Maintaining and Using Your Sourdough Starter
Once you have successfully established your sourdough starter, incorporating a consistent maintenance routine is essential for its vitality and effectiveness. Regular feedings are crucial; it is generally recommended to feed your starter once every 12 hours if kept at room temperature. This schedule allows the naturally occurring yeast and bacteria to flourish, creating a robust and active starter for your baking needs. Alternatively, if you anticipate not using your starter frequently, you can store it in the refrigerator, where it requires feeding only once a week. For refrigeration, ensure that the starter is well-fed and covered to prevent it from drying out.
Should you find yourself neglecting your starter for an extended period, reviving it is straightforward. Begin by discarding a portion of the starter, leaving about 50 grams. Then, feed it with equal parts flour and water, approximately 100 grams each. Keep the starter at room temperature and observe its activity; within 24 to 48 hours, it should show signs of bubbling and rising, indicating that it is active again and ready for use.
As for utilizing your sourdough starter, there are numerous recipes that allow you to appreciate its unique flavor and texture. Although creating traditional sourdough bread is a popular choice, other options include pancakes, waffles, and even sourdough pizzas, each benefitting from the distinct sour notes and airy structure the starter imparts. Additionally, experiment with different types of flour such as whole wheat or rye to enrich the taste and nutritional value of your creations. By making the most of your sourdough starter, you can elevate your home baking experience while enjoying the rewarding process of nurturing and using this remarkable culture.
Sourdough
Explore delicious sourdough recipes and tips today!
Make sure to follow us on our social media platforms!
contact us
Custom Orders
theivoryoven.co@gmail.com
© 2025. All rights reserved.