Add your promotional text...

Sourdough Morning Buns
Using a naturally fermented dough that’s soft, flaky, and packed with flavor
RECIPESACTIVEBREAKFAST
6/11/20255 min read
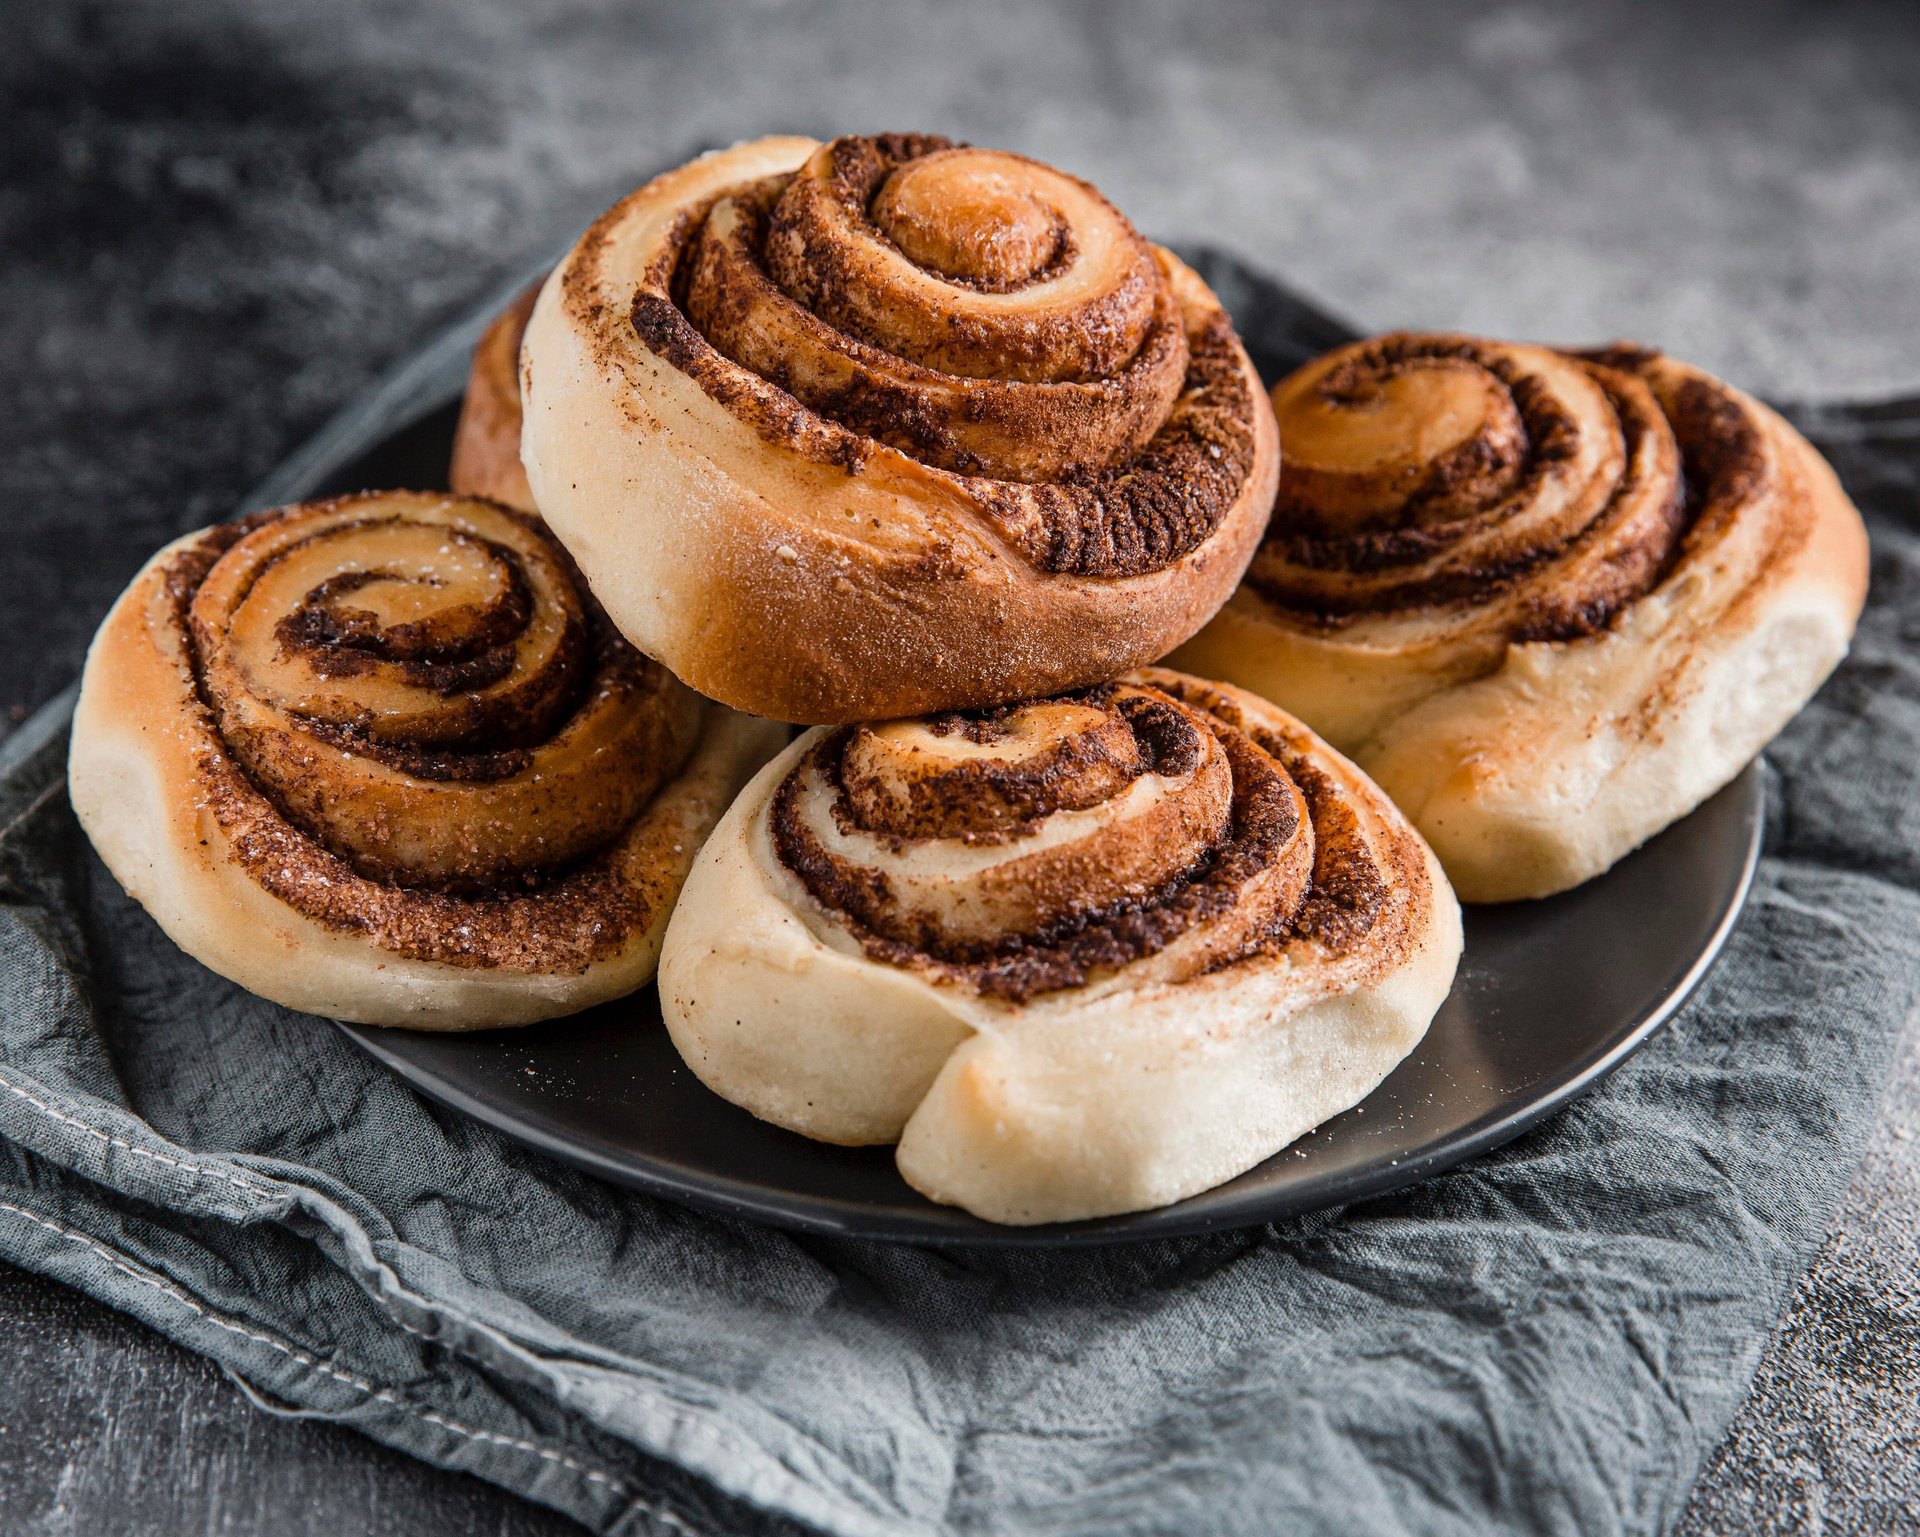
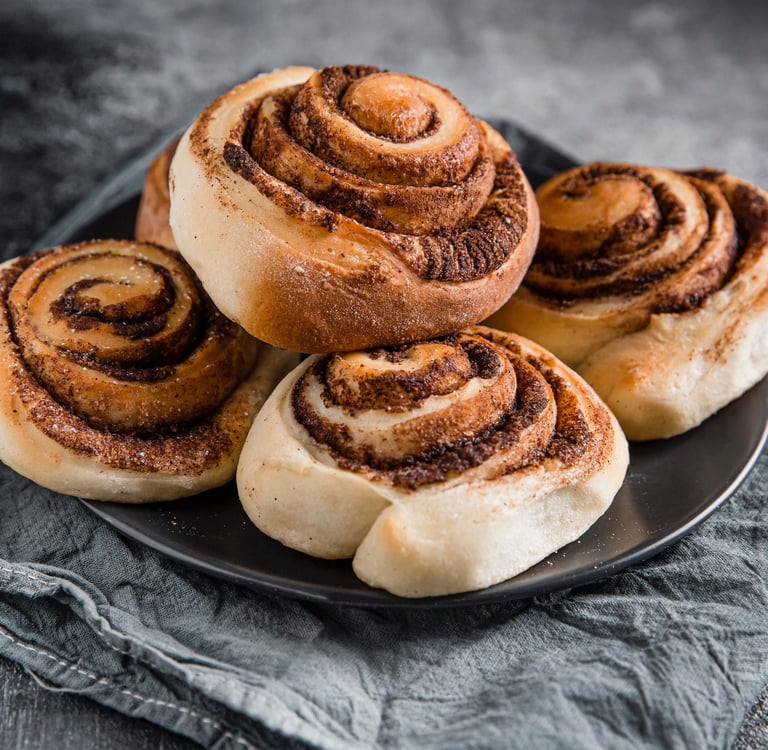
There's something magical about a morning bun. Imagine layers of rich, buttery laminated dough swirled with cinnamon sugar, baked until golden, and then rolled in even more sugar while still warm from the oven. Now, imagine that same treat elevated by the tangy, complex depth of sourdough. If your mouth isn’t watering yet, it will be soon.
In today’s post, we’re diving deep into how to make the ultimate sourdough morning buns from scratch—using a naturally fermented dough that’s soft, flaky, and packed with flavor. I’ll walk you through each step, from feeding your starter to laminating the dough with butter and shaping those beautiful, irresistible swirls.
If you’re new to laminated dough or sourdough pastry making, don’t stress. This is your safe space. We’re making this approachable, broken down into manageable steps, and I’ll even share tips for make-ahead options so you can enjoy these buns fresh in the morning without pulling an all-nighter.
Let’s make your mornings a whole lot more magical.
What Are Sourdough Morning Buns?
Think of sourdough morning buns as a mash-up between cinnamon rolls and croissants, with a unique twist. The dough is similar to croissant dough—laminated with butter to form dozens of flaky layers—but shaped and rolled like cinnamon rolls and coated in sugar. They’re often baked in muffin tins for those perfect caramelized bottoms and puffed-up tops.
Adding sourdough to the mix brings another level of flavor that’s impossible to fake. It’s tangy, slightly sweet, and the fermentation adds both depth and texture. These are a treat that feels fancy but is completely doable at home with a little time and a lot of love.
Tools You’ll Need
Before we dive into the process, make sure you have the following tools on hand. Having the right tools makes this project 1000x easier.
Mixing bowls (medium and large)
Bench scraper or metal spatula
Digital kitchen scale (essential for accurate baking!)
Rolling pin
Pastry brush
Sharp knife or pizza cutter
Muffin tin (standard size, preferably metal)
Parchment paper or muffin liners
Plastic wrap or reusable dough covers
Ruler (optional, but helpful for cutting)
Pastry mat or clean counter space
Ingredients
For the Dough:
100g active sourdough starter (100% hydration)
250g whole milk (warm to touch, not hot)
60g granulated sugar
1 large egg
1 tsp fine sea salt
30g unsalted butter, softened
For the Butter Block (for laminating):
225g unsalted butter, cold and cut into chunks
1 tbsp King Arthur's all-purpose flour (to help it stay pliable)
For the Filling:
100g granulated sugar
1 tbsp ground cinnamon
1 tbsp orange zest (optional, but highly recommended)
For the Sugar Coating:
100g granulated sugar (or superfine sugar)
Additional cinnamon if desired
Step-by-Step Instructions
Step 1: Make the Dough (Day 1 - Evening)
This is an enriched dough, which means it has sugar, egg, and butter. But since we’re using sourdough, it will ferment slowly overnight.
In a large bowl or the bowl of a stand mixer, whisk together the starter, milk, sugar, and egg until combined. Add the flour and salt, and mix until a shaggy dough forms. Let it rest for 30 minutes (this rest is called autolyse and helps the flour absorb the liquid).
After the rest, add the softened butter and knead until the dough is smooth and elastic. If you’re doing this by hand, it may take 10–15 minutes. If you’re using a stand mixer, use the dough hook on medium speed for about 8–10 minutes.
Cover the dough and let it ferment at room temperature for 2 hours, then transfer it to the fridge to bulk ferment overnight (8–12 hours). This slow fermentation builds flavor and makes the dough easier to laminate.
Step 2: Prepare the Butter Block (Day 2 - Morning)
Cut the cold butter into chunks and place them between two sheets of parchment paper. Use a rolling pin to pound and roll the butter into a rectangle approximately 6x8 inches (15x20 cm). Sprinkle with 1 tablespoon of flour to help it stay pliable. Refrigerate it until firm but flexible—about 30 minutes.
Step 3: Laminate the Dough
Take your dough out of the fridge and let it rest at room temp for 15–20 minutes so it's easier to roll out. Lightly flour your surface and roll the dough into a rectangle about twice the size of your butter block—roughly 12x8 inches (30x20 cm).
Place the butter block in the center of the dough and fold the edges over like an envelope. Seal all edges tightly.
Now it’s time to laminate:
First Fold (Letter Fold): Roll the dough lengthwise into a long rectangle (about 24 inches long), then fold it like a letter—top third down, bottom third up. Wrap and chill for 30 minutes.
Second Fold: Repeat the same process—roll into a long rectangle, fold in thirds, chill for another 30 minutes.
Third Fold: Do this one last time. After this fold, chill for at least 1 hour before shaping.
At this point, you’ve got beautiful layers of butter in your dough, which will puff up in the oven like magic.
Step 4: Shape the Morning Buns
Roll the dough into a large rectangle, roughly 12x16 inches. Mix the sugar, cinnamon, and orange zest (if using), then brush the dough lightly with water or milk and sprinkle the sugar mixture evenly across the surface.
Roll the dough tightly from the long side into a log. Use a sharp knife or bench scraper to cut into 12 equal pieces.
Line a muffin tin with parchment or liners. Place one bun, cut side up, in each cup. Cover loosely and let proof for 3–4 hours, or until puffed and pillowy. If your kitchen is cold, this might take longer.
Step 5: Bake the Buns
Preheat your oven to 375°F (190°C). Bake the buns for 20–25 minutes or until golden brown, crisp on the tops, and caramelized on the bottoms. Let them cool in the tin for about 5 minutes.
While they’re still warm, gently remove each bun and roll in granulated sugar (or cinnamon sugar) to coat.
You can serve them warm or at room temperature, but I highly recommend trying one while it’s still a little toasty. Pure bliss.
Tips for Success
Don’t rush the dough. Overnight fermentation is key. It improves flavor and texture.
Keep your butter cold. If the butter starts melting during laminating, pop the dough back in the fridge.
Use a sharp knife. This helps preserve the beautiful layers when cutting.
Add-ins? Go wild. You can mix in chopped pecans, chocolate chips, or a touch of cardamom into the filling.
Freeze for later. Freeze unbaked shaped buns on a tray, then store in a zip bag. Proof and bake straight from frozen, just allow extra time to rise.
Why You’ll Love These
These buns have a perfect contrast of crispy edges, soft layers inside, and a sweet, slightly tangy sourdough flavor. They’re a special-occasion kind of breakfast (though honestly, I’d eat them on a Tuesday). They’re nostalgic, cozy, and bakery-quality but made in your own kitchen.
Once you master these sourdough morning buns, you’ll never want to go back to store-bought pastries again.
Frequently Asked Questions
Can I make these without a muffin tin?
Yes! You can bake them on a parchment-lined baking sheet, but they won’t have the classic round, muffin-top shape.
Can I use sourdough discard?
No—this recipe requires an active starter for proper rise and fermentation.
What if I don’t want to make the butter block?
Technically, you could use store-bought laminated dough like puff pastry, but it won't have the same flavor or sourdough complexity. Trust me—homemade is worth it.
How do I store them?
Store leftovers in an airtight container at room temp for up to 2 days, or freeze for up to 2 months. Reheat in the oven to revive the flakiness.
Final Thoughts
Sourdough morning buns are a labor of love—but they’re absolutely worth it. The hands-on work is mostly short bursts of activity with plenty of rest time in between. Once you try that first warm, caramelized bite, you’ll understand why bakers obsess over laminated dough and sourdough fusion.
These aren’t just buns. They’re an experience—a gift to yourself or someone lucky enough to be in your kitchen that morning. Save this recipe, pin it, and bake it often. Happy baking!
Sourdough
Explore delicious sourdough recipes and tips today!
Make sure to follow us on our social media platforms!
contact us
Custom Orders
theivoryoven.co@gmail.com
© 2025. All rights reserved.