Add your promotional text...

Sourdough Hamburger Buns
A classic favorite with a twist that you won't want to miss!
RECIPESACTIVESOURDOUGH BREAD
5/15/20254 min read
There are few things more satisfying than biting into a juicy burger encased in a perfectly soft, homemade bun. As a baker who loves incorporating sourdough into just about everything, I can tell you—once you try sourdough hamburger buns, there’s no going back.
This recipe was born out of one of those magical kitchen experiments. I had been maintaining my sourdough starter for a couple of years, and one summer afternoon, as the scent of barbecue drifted through the neighborhood, inspiration struck. What if I made burger buns—but better? What if I gave them that extra tang and depth only sourdough can bring?
The result? Golden, pillowy, and slightly chewy buns that are the perfect canvas for anything from classic cheeseburgers to veggie patties and pulled pork sandwiches. And because sourdough has that fermented, slightly complex flavor, it makes every bite a little more special.
Why I Love These Sourdough Buns
These buns have been a huge hit with my family. They request them for every cookout, and I’ve even started gifting them to friends who swear they’re better than any bakery-bought version. I love how they:
Hold up to juicy burger toppings without getting soggy
Have that rich, slightly tangy sourdough flavor
Are surprisingly easy to make if you plan ahead
Can be made with active starter or discard (I'll share both methods below!)
Plus, making them is incredibly therapeutic. Kneading dough, shaping buns, and watching them rise—it's the kind of slow living that makes baking from scratch so rewarding.
Ingredients You’ll Need
These buns come together with a few simple ingredients:
1 cup (240g) active sourdough starter (100% hydration)
3/4 cup (180ml) warm milk (or water if you prefer)
1 large egg
2 tablespoons (30g) sugar
3 tablespoons (45g) unsalted butter, softened (or olive oil for a dairy-free version)
3 1/2 cups (420g) all-purpose flour
1 1/2 teaspoons (9g) salt
1 egg (for egg wash)
Sesame seeds or everything bagel seasoning (optional but highly recommended)
My Go-To Method
Step 1: Make the Dough
In a large mixing bowl, whisk together the sourdough starter, warm milk, egg, sugar, and softened butter. Add the flour and salt, then mix until a shaggy dough forms. Knead for 8-10 minutes until the dough becomes smooth and elastic.
I prefer kneading by hand, but a stand mixer with a dough hook works well too. The dough should be soft but not sticky. If it's too sticky, add a tablespoon of flour at a time.
Step 2: Bulk Fermentation
Transfer the dough to a lightly oiled bowl, cover it with a lid or plastic wrap, and let it rise at room temperature for 4-6 hours, or until doubled in size.
You can also place it in the fridge overnight for a slower fermentation and a more developed flavor.
Step 3: Shape the Buns
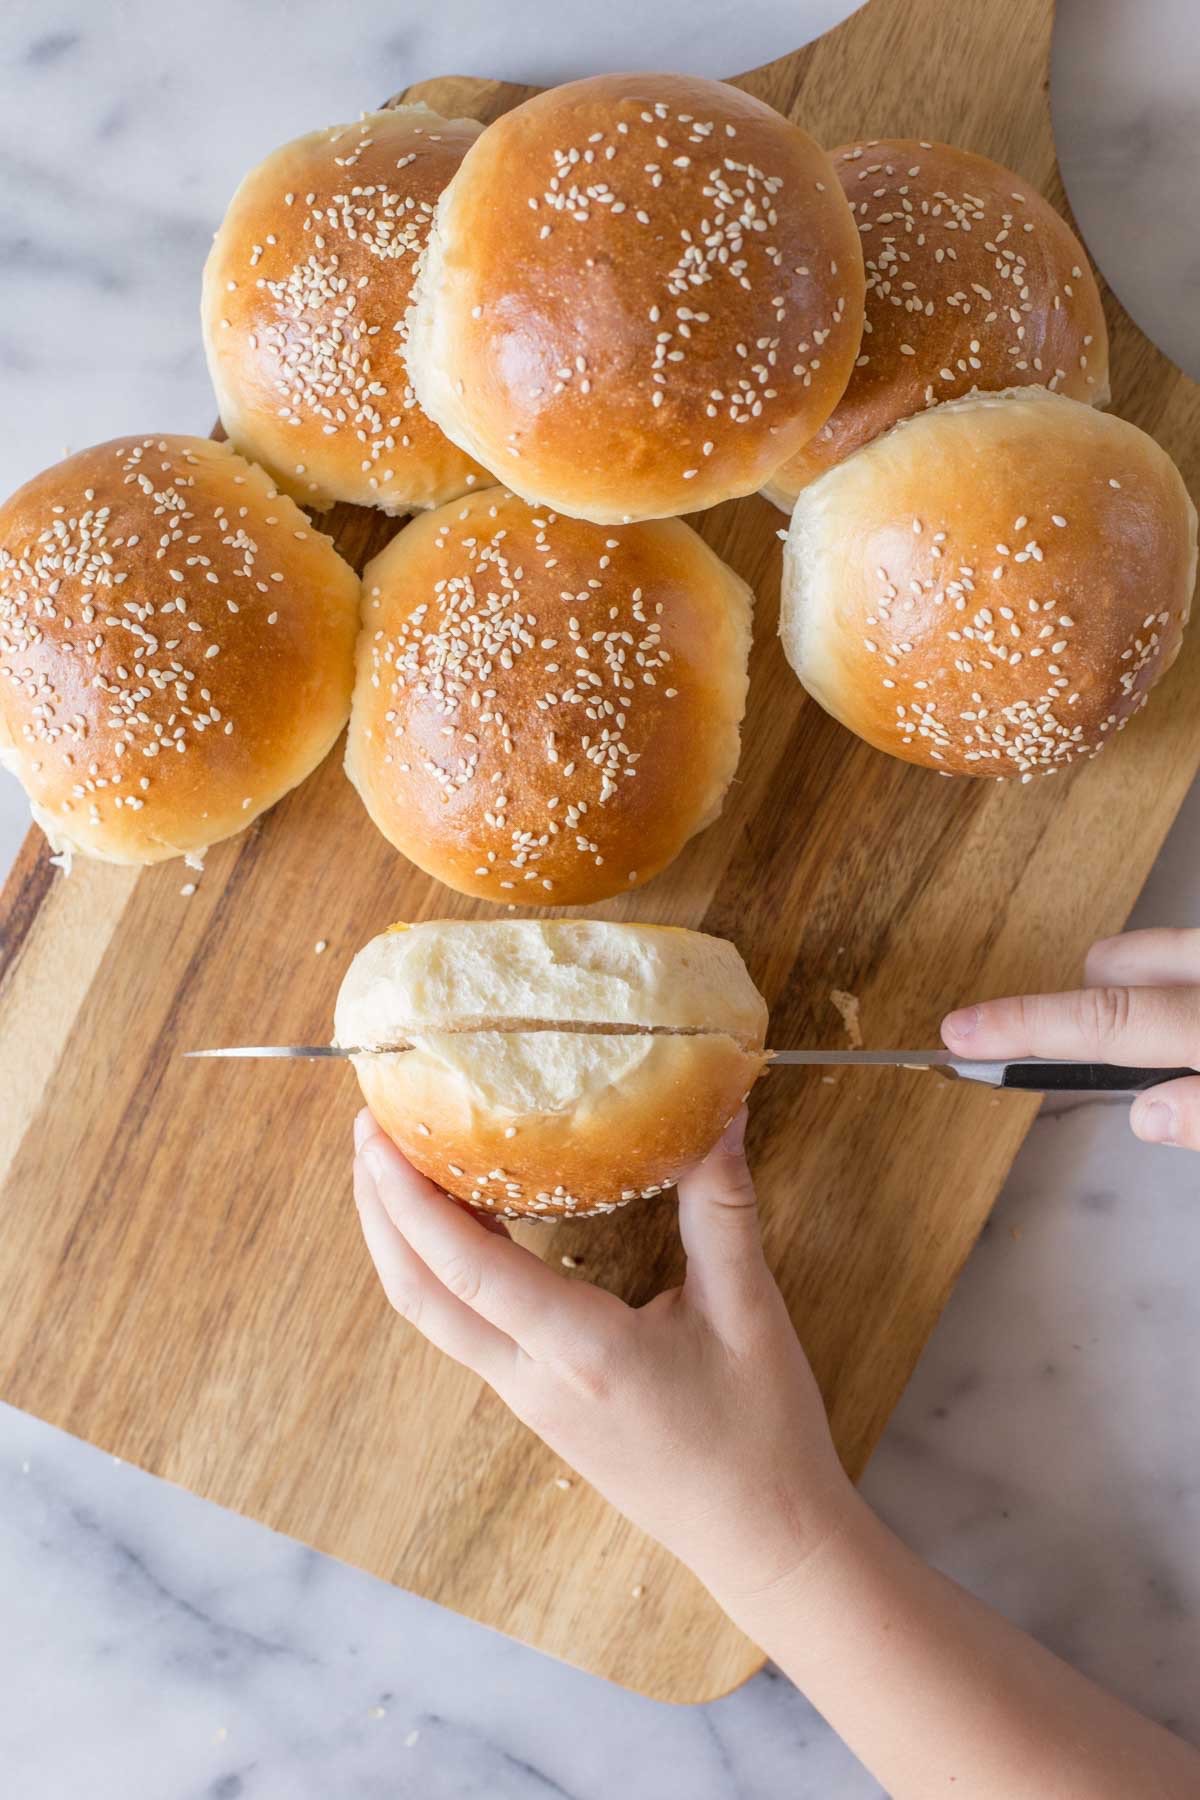
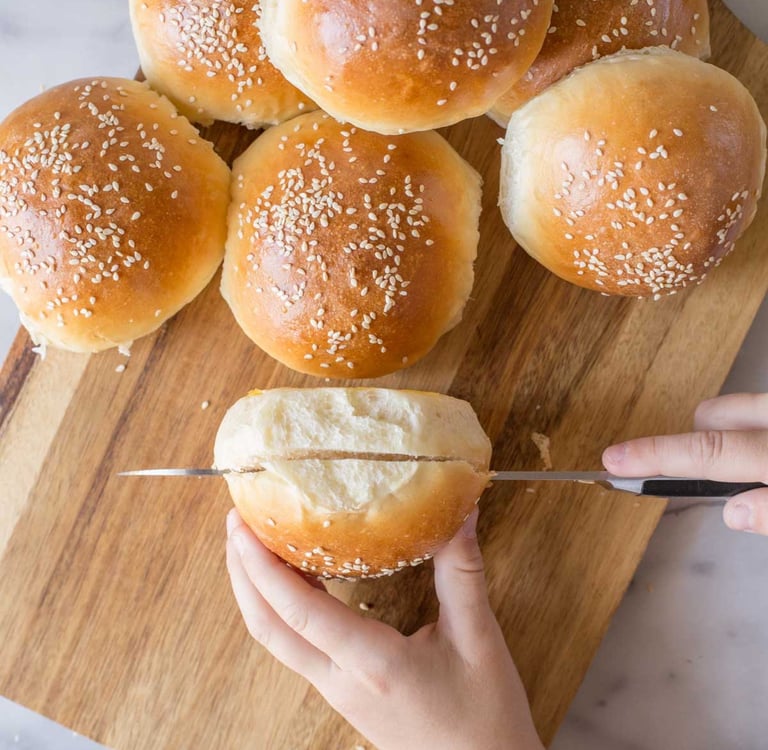
Turn the dough out onto a lightly floured surface and divide it into 8 equal pieces. Shape each piece into a smooth ball and place them on a parchment-lined baking sheet, spacing them about 2 inches apart.
Gently press each ball to flatten slightly—this helps them bake up into more classic bun shapes instead of dinner rolls.
Step 4: Final Proof
Cover the buns with a damp towel or plastic wrap and let them proof at room temperature for 1-2 hours, or until puffy. You want them to look like soft pillows before they go into the oven.
Step 5: Bake to Golden Perfection
Preheat your oven to 375°F (190°C). Whisk the extra egg and brush it over the tops of the buns for that glossy bakery finish. Sprinkle with sesame seeds or everything bagel seasoning if you're feeling fancy.
Bake for 20-25 minutes, or until deep golden brown. Let them cool on a wire rack before slicing.
My Favorite Ways to Use These Buns
Besides burgers, these buns are incredible for breakfast sandwiches, grilled chicken sandwiches, pulled pork sliders, or even peanut butter and jelly. I always make a double batch because they freeze beautifully.
Just let them cool completely, then store in a zip-top bag in the freezer for up to 3 months. To thaw, pop one in the microwave for 30 seconds or let it sit at room temperature for 1-2 hours.
Tips From My Kitchen
Measure by weight: It really helps with consistency. If you’re not using a kitchen scale yet, I highly recommend one.
Don't skip the egg wash: That golden color makes these buns look and feel extra special.
Play with flavors: Add garlic powder, herbs, or even cheese to the dough for unique variations.
Making Buns with Sourdough Discard
If you don’t have active starter ready, you can still make these with sourdough discard. Just add 1 tsp instant yeast to help the rise and reduce the milk to 1/2 cup. The buns will still have a touch of sourdough flavor and a beautiful texture.
Readers Say...
“These buns were the highlight of our BBQ! I’ll never go back to store-bought.” – Amanda
“I used oat milk and olive oil to make them dairy-free, and they turned out amazing.” – Jason
“Soft, chewy, and flavorful. The perfect homemade burger bun!” – Priya
Final Thoughts
Baking your own hamburger buns is one of those simple pleasures that makes any meal feel gourmet. And when you make them with sourdough, it becomes something truly memorable.
Give this recipe a try for your next cookout or family burger night—I promise your guests will be impressed. Plus, you’ll get the satisfaction of saying, “I baked the buns myself.”
If you do try this recipe, I’d love to hear how it went! Leave a comment, tag me on Instagram, or pin it for later.
Happy baking, friends!
Sourdough
Explore delicious sourdough recipes and tips today!
Make sure to follow us on our social media platforms!
contact us
Custom Orders
theivoryoven.co@gmail.com
© 2025. All rights reserved.