Add your promotional text...

Sourdough Granola Bars
Chewy, Crunchy, and Perfect for On-the-Go Snacking
RECIPESDISCARD
6/12/20255 min read
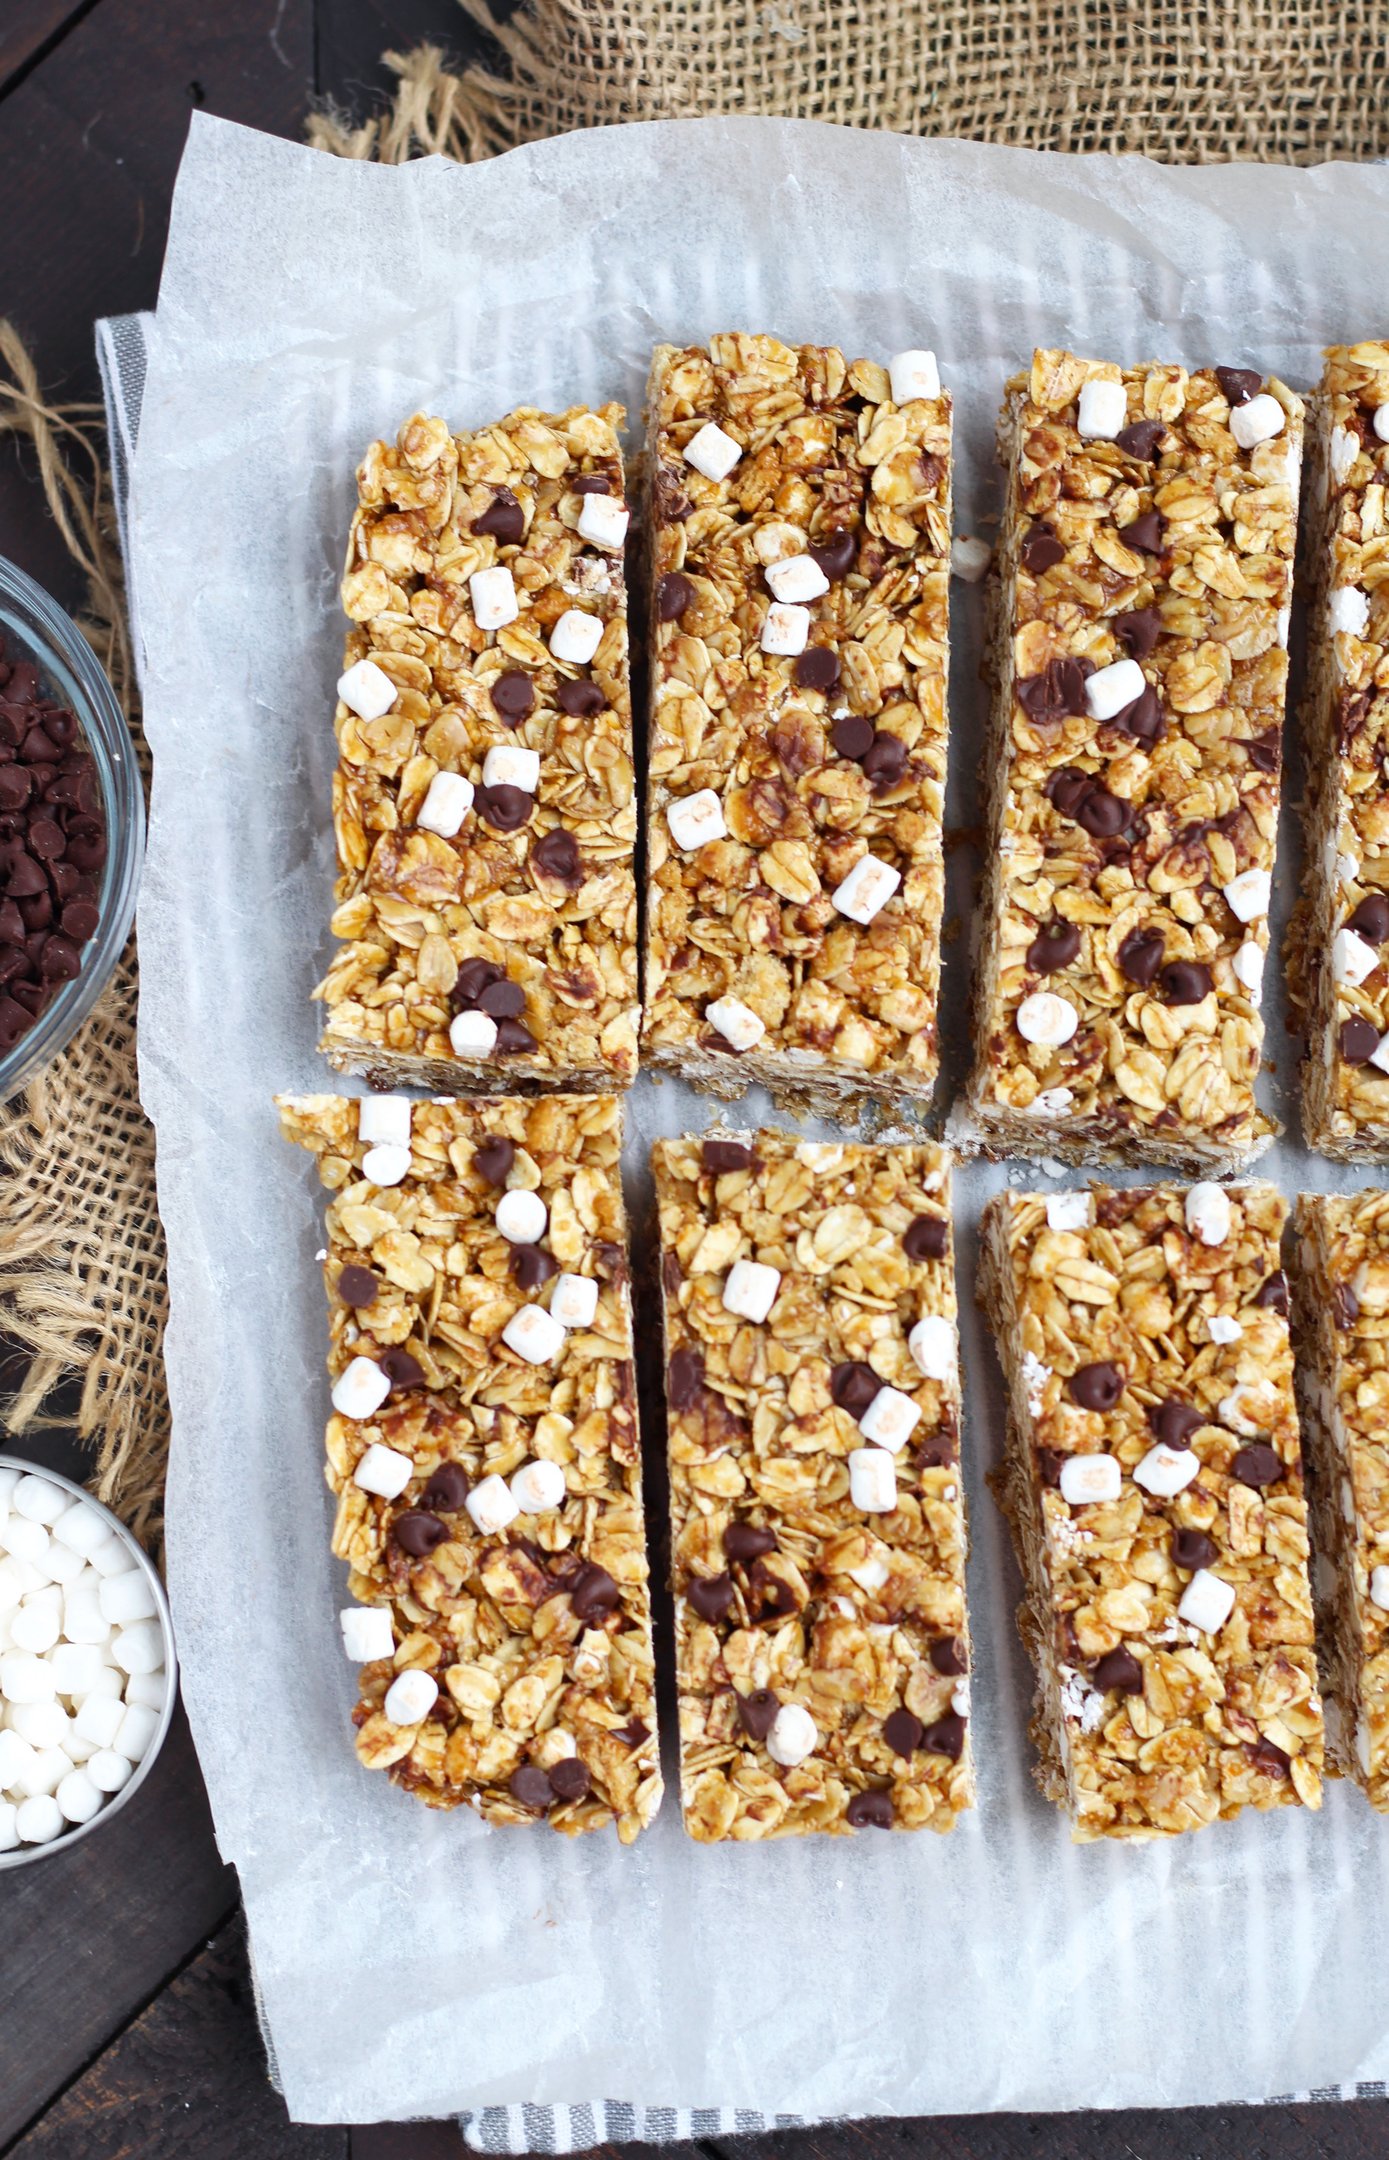
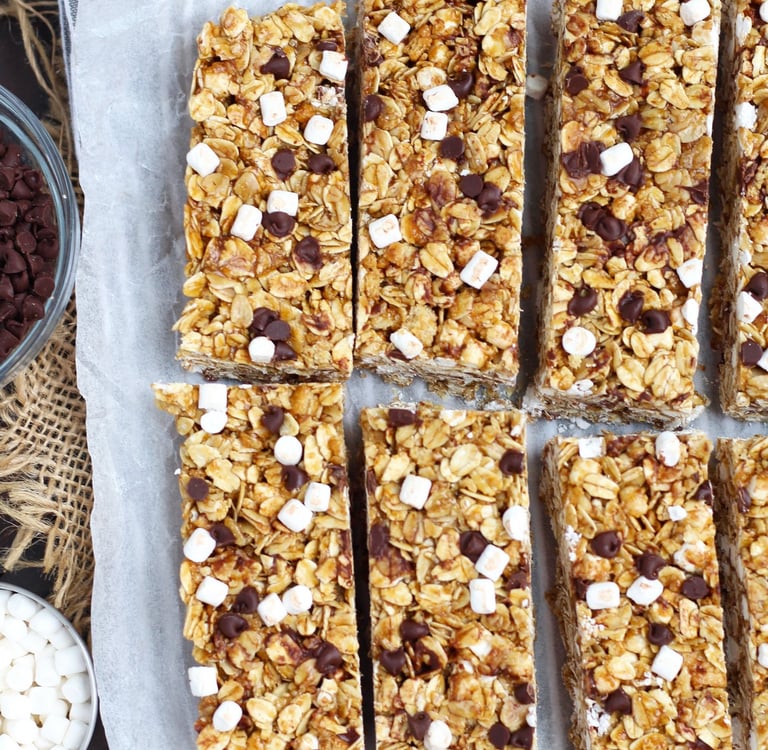
If you’re like me, there are days when you want something easy to grab, satisfying, and just a little bit sweet—but without the guilt or the plastic packaging. That’s where these homemade sourdough granola bars come in. They're chewy, crunchy, naturally sweetened, and made with your sourdough discard for an extra depth of flavor and nutrition.
I’ve been making variations of these for years, but once I figured out how to work sourdough discard into the mix, it was a game-changer. These granola bars are a little tangy, a little nutty, and endlessly customizable with dried fruit, nuts, seeds, chocolate, and more. Perfect for hiking, school lunches, travel, or your mid-afternoon snack attack.
Let me show you how to make your own sourdough granola bars from scratch—easy, wholesome, and way better than store-bought.
Why Use Sourdough in Granola Bars?
If you’ve been baking with sourdough for a while, you already know that discard is a magical ingredient. It doesn’t need to be thrown away—it just needs a home. And while it’s most often found in breads, pancakes, or cookies, I’ve found it works incredibly well in chewy granola bars.
Here’s why sourdough belongs in your granola bars:
Complex flavor: Sourdough discard gives a mild tang that pairs beautifully with natural sweeteners like honey or maple syrup.
Moisture: It helps create a chewy, moist texture that doesn’t dry out.
No waste: Instead of tossing your discard, you’re turning it into something nourishing and snackable.
Improved digestion: Fermentation helps break down gluten and phytic acid, making grains easier to digest.
Binding agent: When combined with oats and a binder like nut butter or honey, discard helps hold the bars together.
So if you’re looking for a unique and tasty way to use your sourdough discard, these granola bars are a must-try.
Tools You’ll Need
Large mixing bowl
Measuring cups and spoons
Spatula or wooden spoon
8x8 or 9x9 inch baking dish
Parchment paper
Knife for slicing
Optional: Food processor or blender (if adding puréed fruit or making oat flour)
Ingredients
This is a great base recipe, and I’ll include dozens of mix-in options and variations after the main instructions.
Dry:
2 cups rolled oats (old-fashioned, not quick oats)
¼ cup oat flour (or blitz oats in a blender)
½ teaspoon salt
½ teaspoon cinnamon (optional)
½ cup chopped nuts (almonds, walnuts, pecans, or a mix)
¼ cup seeds (chia, flax, sunflower, pumpkin)
Wet:
1 cup sourdough discard (100% hydration, unfed or active)
½ cup nut butter (peanut, almond, cashew, or sunflower seed)
⅓ cup honey or maple syrup
1 teaspoon vanilla extract
Optional Mix-ins (choose up to 1 cup total):
½ cup mini chocolate chips or chopped dark chocolate
½ cup dried cranberries, raisins, or cherries
¼ cup shredded coconut
¼ cup chopped dried apricots, figs, or dates
Step-by-Step Instructions
1. Prepare the pan
Preheat your oven to 350°F (175°C). Line an 8x8 or 9x9 inch square baking dish with parchment paper, leaving some overhang for easy lifting. Lightly grease if needed.
2. Mix the dry ingredients
In a large bowl, combine the oats, oat flour, salt, cinnamon, chopped nuts, and seeds. Stir until everything is evenly distributed.
3. Mix the wet ingredients
In a separate bowl, whisk together the sourdough discard, nut butter, honey or maple syrup, and vanilla until smooth and glossy.
4. Combine and fold
Pour the wet mixture over the dry ingredients. Use a spatula or wooden spoon to stir and fold until everything is thoroughly mixed. The mixture will be thick and sticky—that’s what you want. Fold in any dried fruit, chocolate, or coconut at this point.
5. Press into pan
Transfer the mixture to your prepared pan. Press it down firmly and evenly—use the back of a spoon or a small offset spatula to smooth the top. This helps the bars hold together when baked.
6. Bake
Bake for 25–30 minutes or until the edges are golden brown and the top is just set. The center will still be slightly soft but will firm up as it cools.
7. Cool and slice
Let the bars cool completely in the pan. Lift out using the parchment overhang and place on a cutting board. Slice into 12 bars or 16 squares, depending on your preferred size.
8. Store
Store in an airtight container at room temperature for up to 5 days, or refrigerate for up to 2 weeks. For longer storage, freeze for up to 3 months.
Tips for Success
Use runny nut butter: Thick or dry nut butter won’t mix as well—if needed, warm it slightly before adding.
Pack the pan: The firmer you press the mixture into the pan, the better your bars will hold together.
Let them cool: Don’t slice while warm or they’ll crumble. Be patient!
Mix-ins affect moisture: Juicy fruits like dates or cranberries may make the bars softer; compensate with extra oats if needed.
Flavor Variations
Once you nail down the base recipe, the sky’s the limit. Here are my favorite ideas:
Fruity:
Apple Cinnamon (add ¼ cup unsweetened applesauce, dried apples, and extra cinnamon)
Cherry Almond (dried cherries + sliced almonds)
Fig & Walnut (chopped dried figs + toasted walnuts)
Chocolatey:
Chocolate Chip Peanut Butter
Mocha Hazelnut (add 1 tsp espresso powder + dark chocolate + chopped hazelnuts)
Chocolate Coconut (use almond butter + chocolate chunks + shredded coconut)
Savory-ish:
Peanut Butter Pretzel (chopped mini pretzels + peanut butter + chocolate chips)
Trail Mix Bars (nuts, seeds, raisins, and chocolate)
Nut-Free:
Use sunflower seed butter or tahini
Use a combo of seeds and dried fruit for texture
High-Protein:
Add a scoop of protein powder and an extra 2 tbsp nut butter
Stir in hemp seeds or collagen peptides
My Favorite Sourdough Granola Bar Story
I first developed this recipe during a busy season of travel and long workdays. I wanted something nourishing, low-fuss, and truly grab-and-go—but I also didn’t want to sacrifice flavor. I remember pulling one of these granola bars out of my bag on a hike through the Smoky Mountains and realizing: this is the perfect snack.
Over time, I’ve gifted these in care packages, wrapped them in parchment and string for teacher gifts, and tucked them into school lunches. They’ve become one of my most-made recipes, because they’re dependable, adaptable, and always disappear quickly.
Troubleshooting
Bars falling apart?
Make sure you packed the mixture tightly and allowed it to cool completely before slicing. Also, check that your ratios aren’t too heavy on wet mix-ins.
Too sweet or not sweet enough?
Adjust honey or maple to taste. Using more dried fruit or chocolate chips also affects perceived sweetness.
Too moist or soggy?
Add an extra ¼ cup oats or oat flour next time to absorb more moisture.
Overbaked or dry?
Reduce the bake time slightly or bake at 325°F instead of 350°F.
How to Make No-Bake Sourdough Granola Bars
Prefer not to turn on the oven? No problem. Here’s how:
Use 1½ cups rolled oats and toast them in a skillet.
Use ¾ cup nut butter + ⅓ cup honey/maple + 1 cup sourdough discard.
Add mix-ins of choice.
Press into a parchment-lined pan and refrigerate for 2+ hours.
Slice and store cold.
They’ll be a little softer than baked ones but just as delicious.
Sourdough Granola Bar FAQ
Can I use active sourdough starter instead of discard?
Absolutely! Active starter may add a bit more rise, but both work beautifully.
Is this recipe gluten-free?
Use certified gluten-free oats and a gluten-free starter, and you’re good to go.
Can I make these vegan?
Yes! Use maple syrup instead of honey, and avoid dairy or chocolate with milk products.
Can I freeze them?
Definitely. Wrap individually or place between parchment layers in a container. Thaw at room temp or microwave for 10 seconds.
What size pan should I use?
An 8x8 or 9x9-inch pan works well. For thinner bars, use a 9x13-inch dish and reduce baking time.
Final Thoughts
These sourdough granola bars are everything I want in a snack: nourishing, flavorful, and made from ingredients I trust. They're a far cry from store-bought granola bars, and they have the added benefit of reducing waste from sourdough discard.
Whether you’re packing lunch boxes, heading out for a hike, or just trying to stay fueled between meals, these bars are a delicious way to do it. I hope you try them, tweak them, and make them your own.
They’ve become a staple in my kitchen, and I think they’ll become one in yours too.
Sourdough
Explore delicious sourdough recipes and tips today!
Make sure to follow us on our social media platforms!
contact us
Custom Orders
theivoryoven.co@gmail.com
© 2025. All rights reserved.