Add your promotional text...

Sourdough Garlic Breadsticks
Soft & Buttery
RECIPESDISCARDACTIVE
4/29/20254 min read
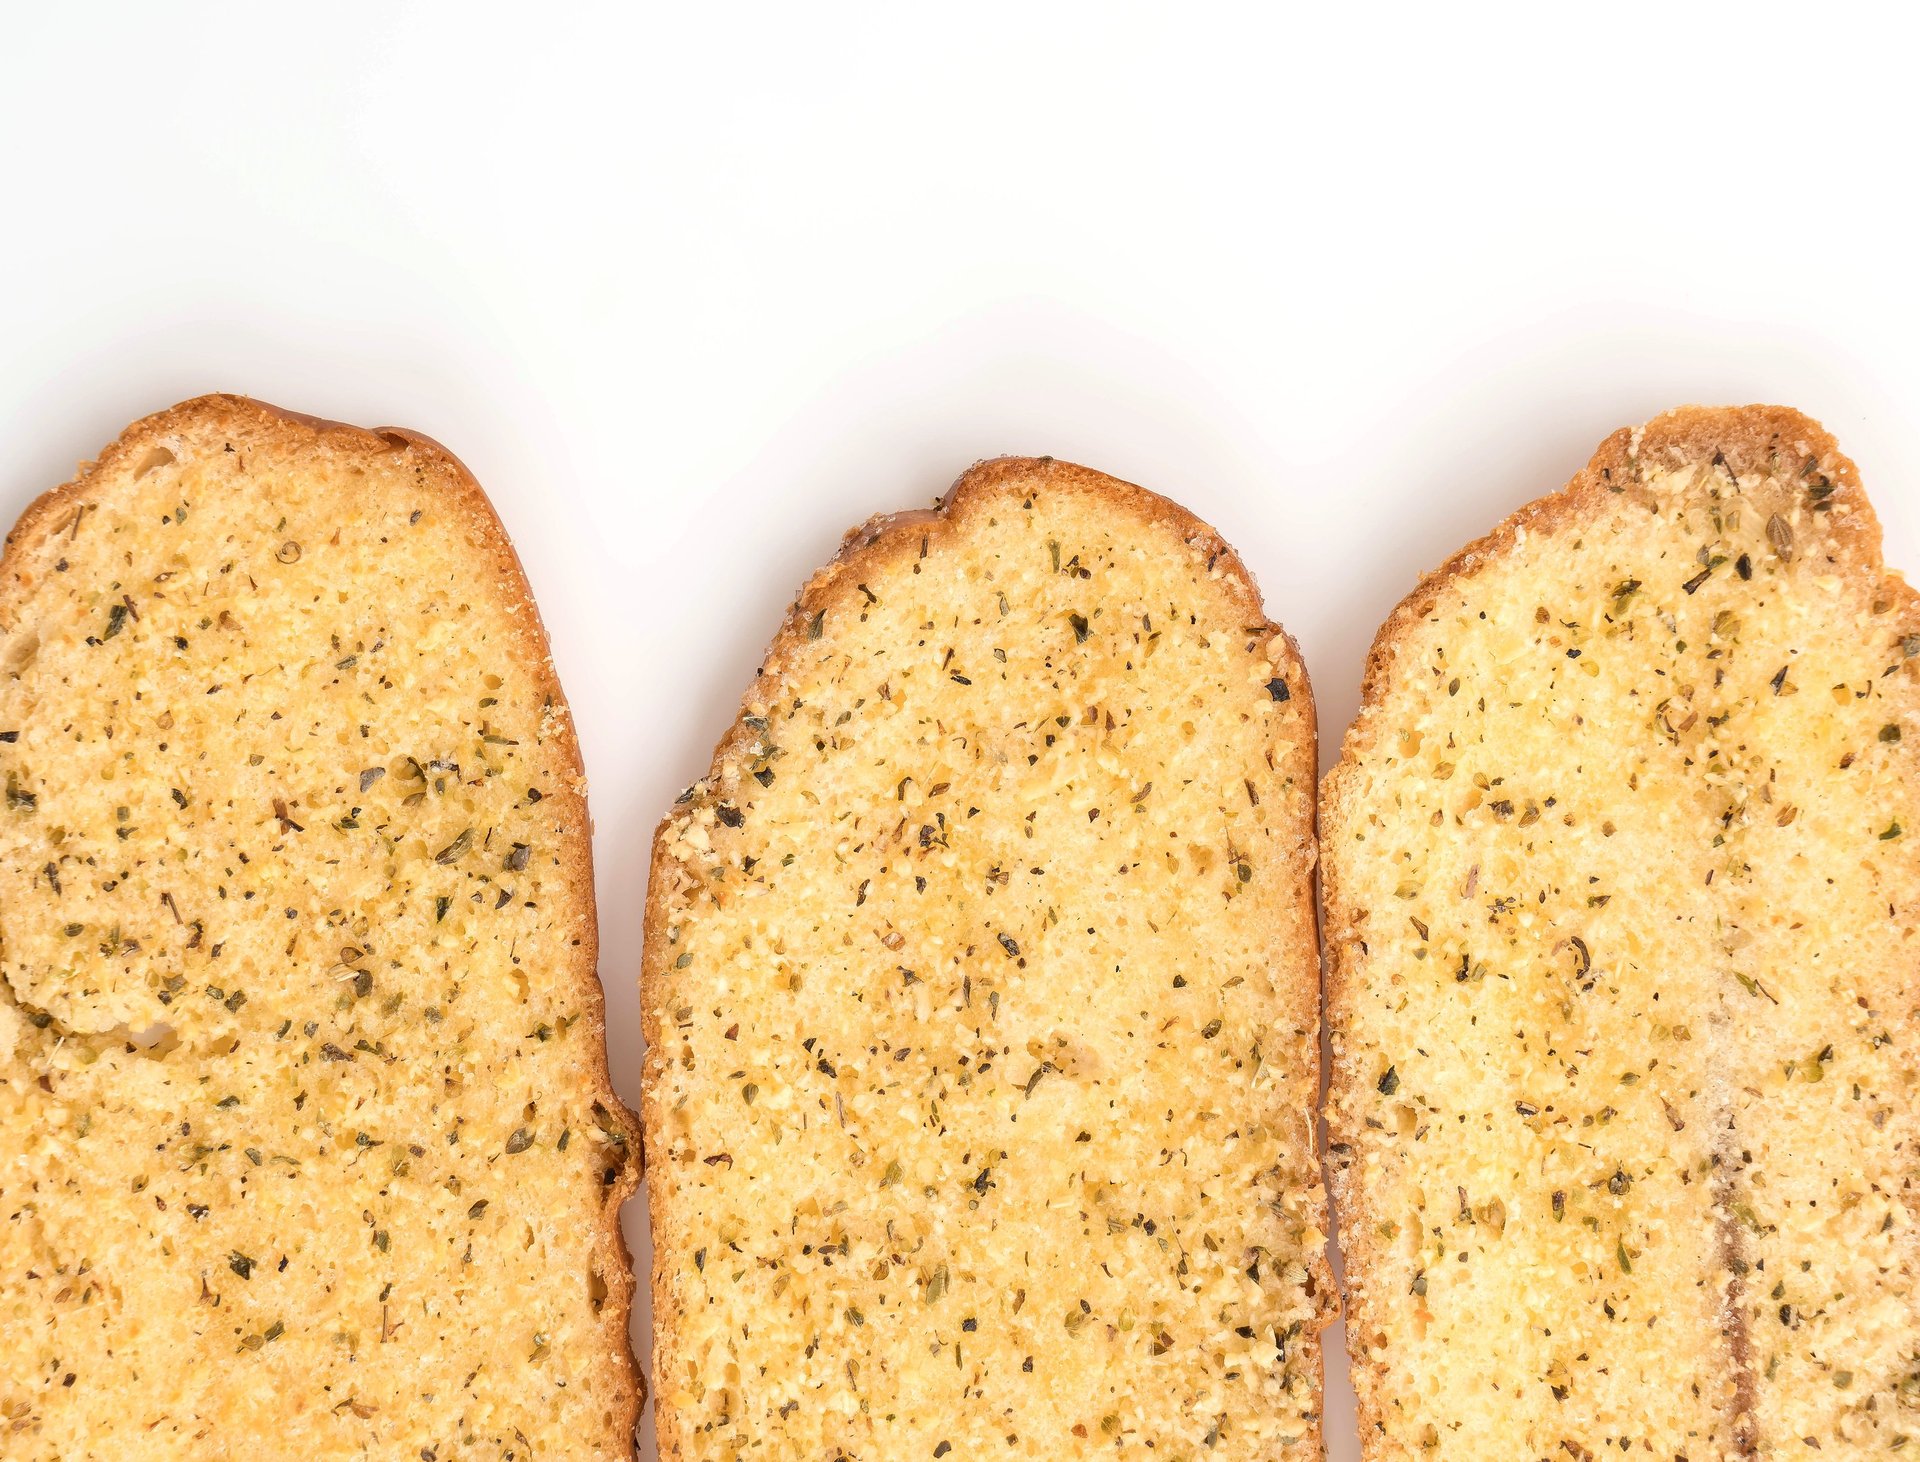
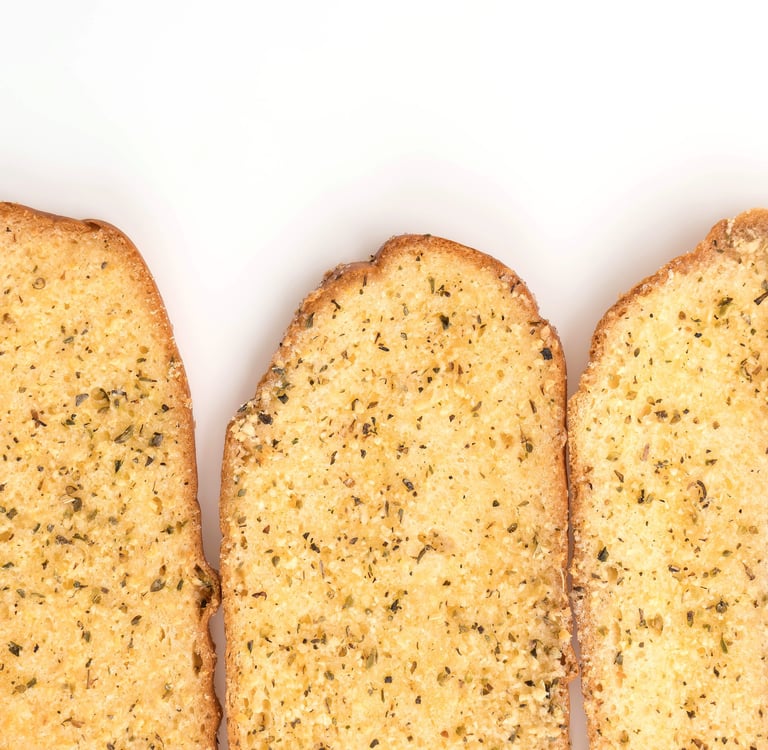
There’s something irresistible about warm, garlicky breadsticks fresh from the oven—especially when they’re made with sourdough! These Sourdough Garlic Breadsticks are soft, fluffy, and packed with real garlic butter flavor. Whether you use sourdough discard or an active starter, this recipe transforms your extra starter into golden, bakery-style breadsticks that pair perfectly with soups, pasta, pizza night, or just a good marinara dip.
And the best part? They’re surprisingly easy to make at home with minimal ingredients!
Why You’ll Love These Sourdough Garlic Breadsticks
🧄 Packed with garlic flavor in every bite thanks to a buttery garlic topping.
🥖 Uses sourdough discard or active starter, making this a perfect low-waste recipe.
🌿 Beginner-friendly and no fancy equipment required.
🧈 Soft and fluffy inside, golden and flavorful outside.
🧊 Freezer-friendly and great for make-ahead baking!
Ingredients You’ll Need
For the Dough:
1 cup sourdough starter (active or discard)
2½ cups all-purpose flour
¾ cup warm water
1 tablespoon sugar or honey
1 teaspoon salt
2 tablespoons olive oil or melted butter
1 teaspoon instant yeast (optional, for faster rise)
Tip: Including yeast will give you a quicker rise if your starter is sluggish or you’re short on time. But it’s totally optional if you’re okay with a longer ferment!
For the Garlic Butter Topping:
¼ cup unsalted butter, melted
2–3 garlic cloves, minced or pressed
1 tablespoon chopped fresh parsley (optional)
Pinch of salt
Optional: 2 tablespoons grated parmesan for extra flavor
Tools You’ll Need
Mixing bowl
Measuring cups & spoons
Rolling pin
Baking sheet (preferably lined with parchment)
Clean kitchen towel or plastic wrap
Pastry brush (or spoon for brushing butter)
Step-by-Step Instructions
1. Mix the Dough
In a large mixing bowl, combine the sourdough starter, warm water, olive oil, and sugar or honey. Stir to combine.
Add the flour and salt. Mix until a shaggy dough forms, then knead by hand (or in a stand mixer with a dough hook) for 5–8 minutes until the dough is smooth and elastic.
If using instant yeast, add it with the flour.
Tip: If the dough feels too sticky, add 1 tablespoon of flour at a time until it’s workable but still soft.
2. Let It Rise
Place the dough in a lightly greased bowl, cover, and let it rise:
With yeast: 1–2 hours, until doubled in size.
Without yeast (natural rise): 4–6 hours at room temperature, or overnight in the fridge.
If you cold-proof overnight, let the dough warm up for about 1 hour before shaping.
3. Shape the Breadsticks
Once the dough has doubled in size, turn it out onto a lightly floured surface.
Roll it out into a rectangle about 8x12 inches and ½ inch thick.
Use a pizza cutter or sharp knife to slice the dough into 10–12 strips. Gently twist or leave plain, and place them spaced apart on a parchment-lined baking sheet.
Cover loosely with a towel or plastic wrap, and let them rise again for 30–45 minutes until puffy.
4. Preheat Your Oven
While the breadsticks rise, preheat your oven to 375°F (190°C).
5. Make the Garlic Butter
Melt the butter and stir in the minced garlic, a pinch of salt, and optional parsley or parmesan.
6. Bake the Breadsticks
Brush the puffy breadsticks with half of the garlic butter, then bake for 18–22 minutes or until golden brown and cooked through.
As soon as they come out of the oven, brush them with the remaining garlic butter while they’re still hot.
Don’t skip this step—it’s the key to that rich garlic flavor!
Optional Variations
🧀 Cheesy Breadsticks: Add shredded mozzarella or parmesan to the dough or sprinkle on top before baking.
🌶️ Spicy Kick: Stir a pinch of crushed red pepper flakes into your garlic butter.
🌱 Herb Lovers: Mix dried Italian herbs into the dough or garlic butter for even more flavor.
🥨 Pretzel-Style: Brush with baking soda water before baking and sprinkle with coarse salt for a chewy, pretzel-like version!
Store:
Cool completely, then store in an airtight container at room temperature for up to 2 days, or refrigerate for up to 5.
Freeze:
Wrap tightly and freeze for up to 2 months. Reheat from frozen in a 300°F oven for 10–15 minutes.
Reheat:
Wrap in foil and warm in a 350°F oven for 8–10 minutes, or microwave for 20–30 seconds.
What to Serve with Sourdough Garlic Breadsticks
These breadsticks are seriously versatile! Here are some ideas to get you started:
🍝 Spaghetti, lasagna, or any hearty pasta dish
🥣 Creamy soups like tomato basil, broccoli cheddar, or potato leek
🍕 Homemade pizza night
🥗 A fresh Caesar or Italian salad
🍅 Marinara or ranch dip for snacking
FAQs
Can I make these with just discard?
Absolutely! Discard gives great flavor. Just know that if you’re not adding commercial yeast, your rise time will be longer, especially if your discard is older.
Can I skip the butter?
You can sub olive oil for a dairy-free option, though butter really enhances the garlic flavor. Use vegan butter if needed.
Can I make the dough ahead of time?
Yes! After kneading, cover and refrigerate the dough overnight. Let it come to room temp and rise a bit before shaping and baking.
Do I have to twist them?
Not at all! Twisting is fun and gives that bakery-style look, but straight breadsticks work just as well and are a bit quicker to shape.
Final Thoughts: Your New Favorite Sourdough Side
Once you try these Sourdough Garlic Breadsticks, you’ll never want to go back to store-bought again. They’re soft, full of flavor, and the perfect excuse to fire up your oven even when you’re not making bread loaves.
This recipe is a great use for discard, ideal for beginners, and easy to customize to your taste. And honestly? That buttery garlic topping alone is worth it.
So go grab your starter, preheat that oven, and let’s make your kitchen smell amazing.
Sourdough
Explore delicious sourdough recipes and tips today!
Make sure to follow us on our social media platforms!
contact us
Custom Orders
theivoryoven.co@gmail.com
© 2025. All rights reserved.