Add your promotional text...

The Ultimate Beginner-Friendly Sourdough Dinner Rolls (Perfect for Every Holiday Table)
RECIPESACTIVE
4/12/20254 min read
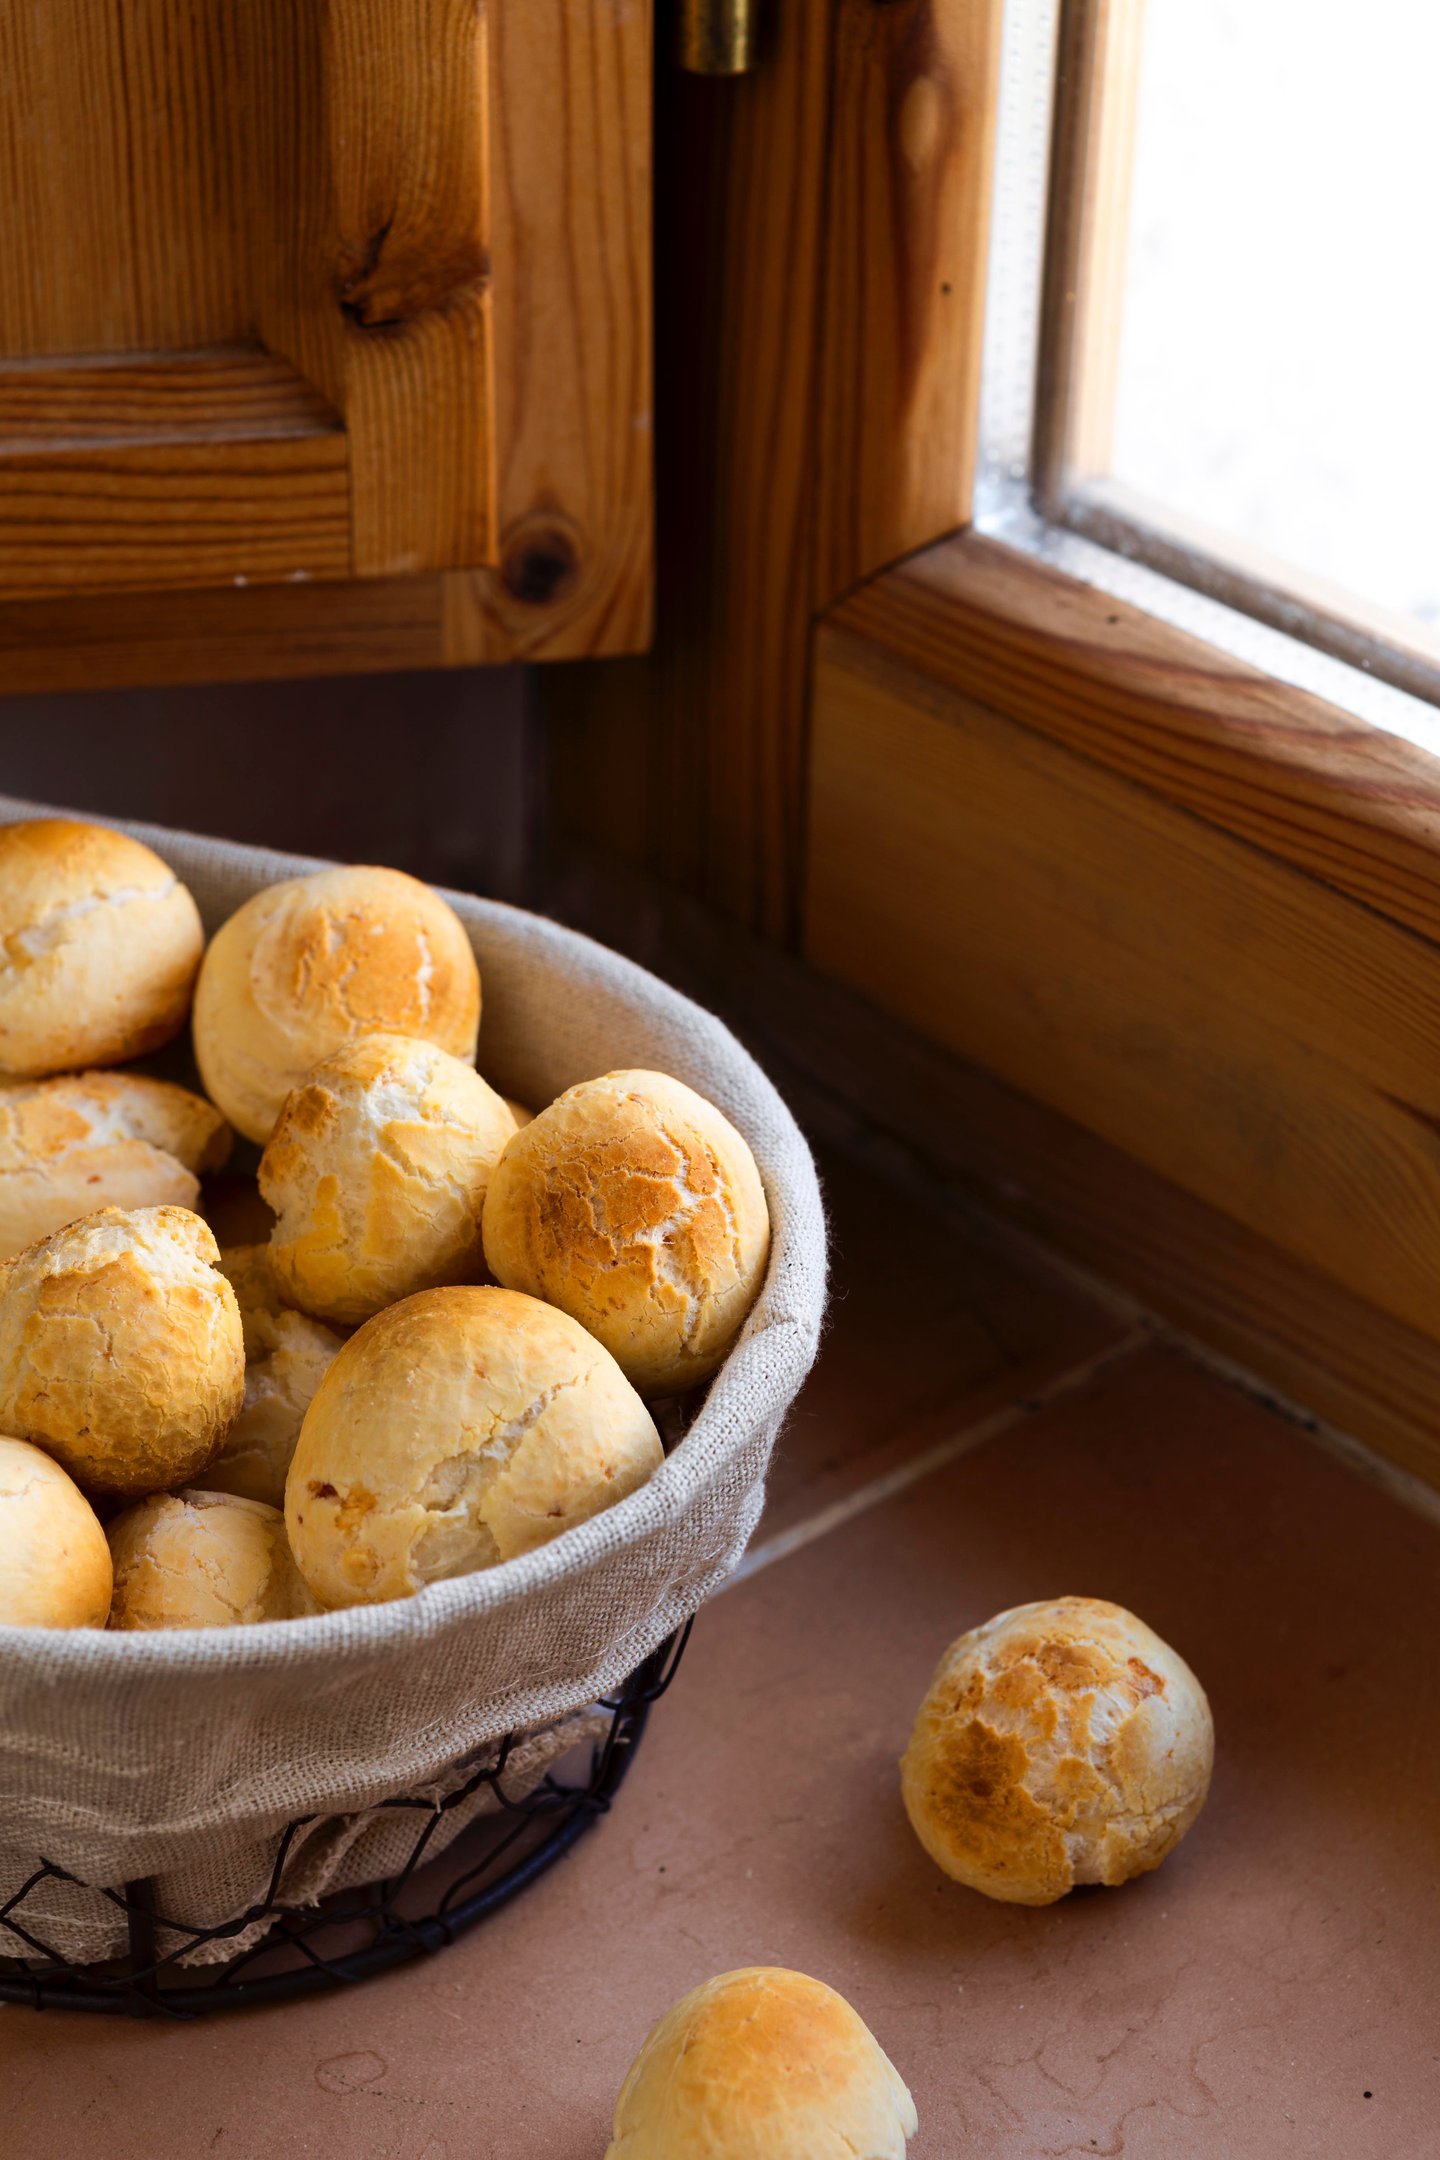
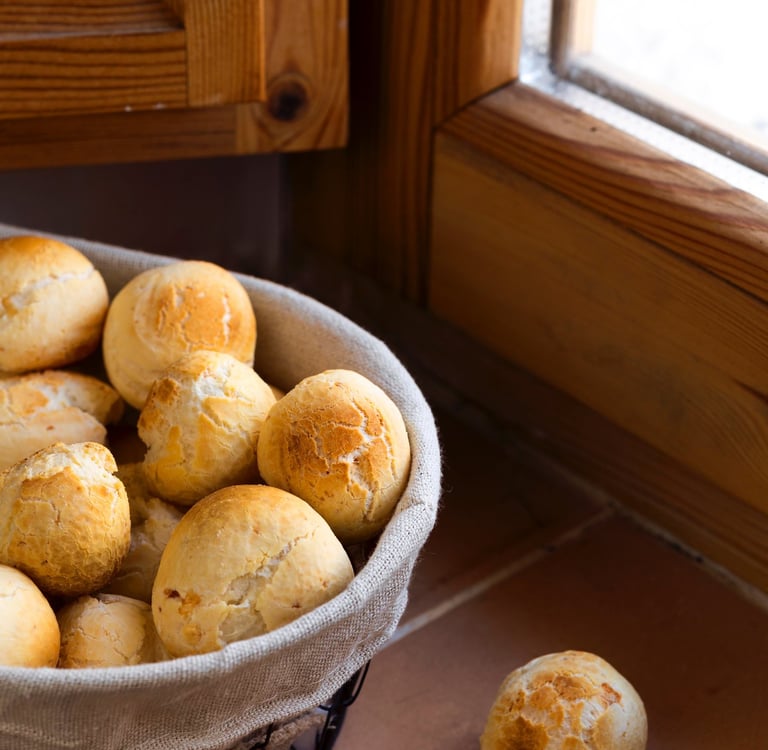
There’s something magical about homemade bread—especially when it’s sourdough. These sourdough dinner rolls are soft, slightly tangy, and beautifully golden, with just the right amount of chew. They make the perfect addition to any holiday table, whether it’s Thanksgiving, Christmas, Easter, or a cozy Sunday roast with family.
This recipe is crafted for beginners, with minimal ingredients, no fuss, and clear steps that walk you through everything you need to know. If you’re new to baking with sourdough, don’t worry. These rolls are a gentle entry into the world of fermentation and will quickly become your go-to for any celebration.
Why You’ll Love These Sourdough Dinner Rolls
Minimal Ingredients – Just five pantry staples and your sourdough starter.
Beginner-Friendly – No fancy techniques or equipment.
Perfect Texture – Soft and fluffy inside, golden and lightly crisp outside.
Make-Ahead Friendly – The dough rests overnight, so you can bake fresh rolls without last-minute stress.
Holiday-Ready – These rolls look and taste like they came from a bakery, making them perfect for impressing guests.
Ingredients
You only need six ingredients for these dreamy rolls:
100g active sourdough starter (fed and bubbly)
250g warm water
400g all-purpose flour (or bread flour)
40g unsalted butter, melted (plus extra for brushing)
10g salt
15g honey (optional, for a touch of sweetness)
That’s it! No eggs, no milk—just simple, wholesome ingredients that yield impressive results.
Tools You’ll Need
A kitchen scale (recommended for best results)
Dough scraper or spatula
9x13 baking dish or a parchment-lined baking sheet
Plastic wrap or damp towel
Step-by-Step Instructions
Step 1: Mix the Dough (Evening Before Baking)
In a large bowl, mix your active sourdough starter with warm water. Stir until it dissolves.
Add flour, melted butter, honey (if using), and salt. Mix everything together with a spatula or your hands until no dry flour remains. The dough will be a little sticky and shaggy—that’s okay! Cover the bowl with a damp towel or plastic wrap and let it rest for 30 minutes.
Step 2: Stretch and Fold
After the 30-minute rest, perform a round of stretch and folds. This strengthens the dough without kneading.
To do this, wet your hands slightly, grab one edge of the dough, stretch it upward, and fold it over itself. Rotate the bowl and repeat 3–4 times.
Let the dough rest for 30 minutes and repeat the stretch and fold once more.
Cover the dough again and let it rest at room temperature overnight (8–12 hours). Ideal room temp is around 68–72°F.
Step 3: Shape the Rolls (Morning of Baking)
In the morning, your dough should look puffy and airy. Lightly flour your work surface and gently turn out the dough.
Divide the dough into 12 equal pieces (around 60–65g each). Shape each piece into a smooth ball by tucking the edges underneath and gently rolling it on the counter.
Place the shaped rolls into a greased or parchment-lined 9x13 baking dish, leaving a little space between them so they can puff up and rise together.
Cover the pan loosely and let the rolls rise for 2–4 hours, until noticeably puffy and almost doubled in size. This is called the final proof.
Step 4: Bake
Preheat your oven to 375°F (190°C). Brush the tops of the rolls with melted butter for a golden, glossy finish.
Bake for 20–25 minutes, or until the tops are golden brown and the rolls sound slightly hollow when tapped.
Remove from the oven and brush with more melted butter while still warm for extra softness and shine.
Optional Add-Ins & Holiday Variations
One of the best parts of this recipe is how versatile it is. You can customize it for different holidays or flavor preferences:
Thanksgiving: Add chopped fresh rosemary or sage to the dough.
Christmas: Mix in dried cranberries and a sprinkle of orange zest.
Easter: Add a little cinnamon and honey for sweet, brunch-worthy rolls.
Everyday Comfort: Sprinkle sesame or poppy seeds on top before baking.
Make-Ahead Tips
Freeze After Baking: Once fully cooled, store in an airtight container and freeze for up to 1 month. Reheat in the oven at 300°F for 10–12 minutes.
Freeze Before Baking: Shape the rolls, freeze them on a tray, then store in a bag. Thaw overnight in the fridge and allow to rise for a few hours before baking.
Common Questions & Troubleshooting
Q: My rolls didn’t rise overnight—what happened?
A: Make sure your sourdough starter is active and bubbly before mixing. Colder rooms may slow fermentation, so try a warmer spot or let them ferment a bit longer.
Q: Can I use whole wheat flour?
A: Yes! You can substitute up to 50% of the flour with whole wheat. Just note that the rolls may be slightly denser.
Q: Can I add milk or eggs for richer rolls?
A: Absolutely. For a brioche-style roll, replace the water with warm milk and add 1 egg. You may need to adjust the flour slightly to account for the extra liquid.
A Roll for Every Holiday
There’s something timeless and comforting about pulling a tray of warm, buttery rolls from the oven. These sourdough dinner rolls are rustic yet elegant, making them perfect for dressing up a holiday meal or rounding out a simple family dinner.
They carry that special homemade charm that can’t be found in a store-bought roll. You made these from scratch—with patience, love, and wild yeast. That’s a beautiful thing.
Final Thoughts
Holiday meals are about more than just food—they’re about connection. Passing warm rolls around the table, sopping up gravy or enjoying with a pat of butter—it’s all part of the memory-making.
These sourdough dinner rolls are simple, humble, and absolutely delicious. They’re made with real ingredients and lots of heart, just the way homemade bread should be. Whether you’re baking them for a big holiday feast or a quiet Sunday supper, I hope they bring joy to your table.
If you try this recipe, I’d love to see your beautiful rolls! Tag me on Instagram or Pinterest @theivoryovne.co and use the hashtag #theivoryovensourdough
Sourdough
Explore delicious sourdough recipes and tips today!
Make sure to follow us on our social media platforms!
contact us
Custom Orders
theivoryoven.co@gmail.com
© 2025. All rights reserved.