Add your promotional text...

Homemade Sourdough Danish Pastry – Flaky, Buttery & Naturally Leavened
RECIPESACTIVE
4/12/20254 min read
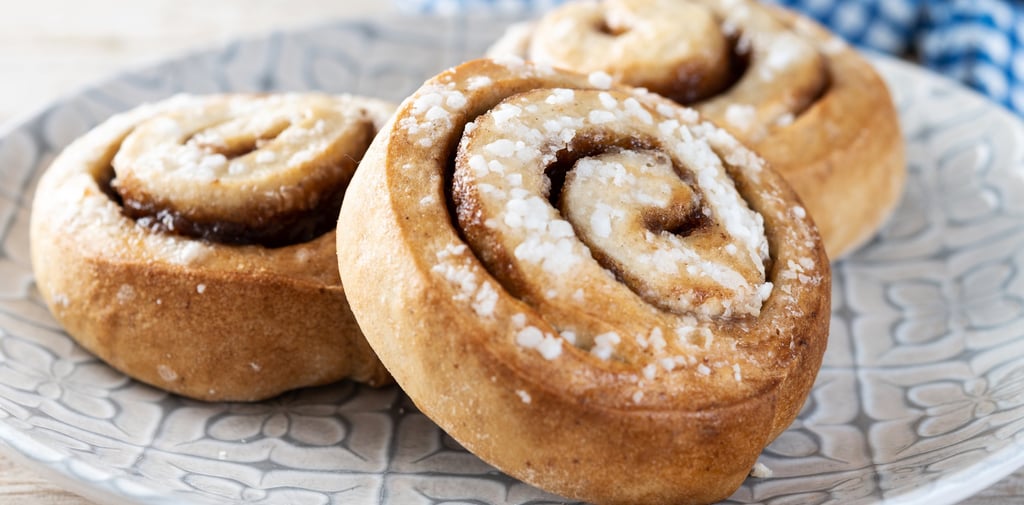
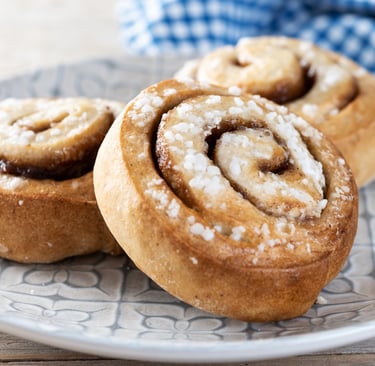
Flaky, buttery, and filled with your favorite jams or creams, this sourdough Danish pastry recipe is a game changer. With its natural fermentation, subtle tang, and stunning bakery-worthy layers, it’s everything you love about Danish pastries—made from scratch and with love.
This is the perfect project for a weekend bake or a special holiday brunch. Don’t be intimidated by laminated dough—we’re taking it step by step, and the results are more than worth it. Plus, we’re ditching commercial yeast in favor of sourdough starter, which adds unmatched flavor, texture, and digestibility.
Whether you fill them with cream cheese, raspberry jam, lemon curd, or chocolate, these sourdough Danishes will become a new favorite in your baking lineup. Let’s turn your starter into something truly special!
Why You’ll Love This Sourdough Danish Pastry Recipe
Naturally leavened with sourdough starter (no commercial yeast)
Layered & flaky, just like your favorite bakery
Endless fillings – sweet or savory, fruit or cream cheese
Overnight proofing means flexible timing and better flavor
Perfect for brunch, holidays, Mother’s Day, Easter, or just because!
Ingredients – Minimal & Simple
For the Dough:
100g active sourdough starter
120ml whole milk, lukewarm
1 large egg
40g granulated sugar
280g all-purpose flour
½ tsp fine sea salt
170g unsalted butter, cold (for lamination)
For the Filling Ideas (choose one or mix and match!):
115g (4 oz) cream cheese, softened + 2 tbsp powdered sugar
Fruit preserves or jam (raspberry, apricot, blueberry, etc.)
Lemon curd
Chocolate chips or Nutella
For the Egg Wash:
1 egg + 1 tbsp milk, beaten together
Tools You’ll Need
Bench scraper or sharp knife
Parchment paper
Baking sheets
Plastic wrap or damp towel
A ruler (optional, but helpful for shaping)
Step-by-Step Instructions
Step 1: Make the Dough (Evening – Day 1)
In a medium bowl, whisk together your sourdough starter, lukewarm milk, egg, and sugar. Stir in the flour and salt until a shaggy dough forms. Knead by hand for 5–7 minutes until smooth, or mix in a stand mixer on low speed.
Cover the bowl and let the dough rest at room temperature for 30–60 minutes. Then, transfer it to the fridge and chill overnight. This helps relax the gluten and makes it easier to roll out later.
Step 2: Prepare the Butter Block (Day 2)
Cut your cold butter into thin slices and lay them between two sheets of parchment. Use your rolling pin to gently pound and shape the butter into a 5x5-inch square.
Refrigerate the butter while you roll out the dough.
Step 3: Laminate the Dough (Butter Layering)
Lightly flour your surface and roll your chilled dough into an 8x8-inch square. Place the butter block in the center, like a diamond, and fold the corners of the dough over the butter to seal it like an envelope.
Now you’ll do three letter folds with chilling in between:
First Fold: Roll the dough into a 10x18-inch rectangle. Fold it into thirds like a letter. Wrap and chill for 30–45 minutes.
Second Fold: Rotate the dough 90°, roll out again to 10x18, fold like a letter, chill again.
Third Fold: Repeat once more. After the third fold, wrap the dough well and refrigerate for at least 2 hours or overnight.
Step 4: Shape Your Danishes (Day 3)
Roll your laminated dough into a ¼-inch thick rectangle. Cut into 8–10 squares or circles, depending on the shape you want:
Pinwheel: Cut slits at each corner and fold alternating points to the center.
Center-Well: Fold corners inward to make a small pocket for filling.
Circle or Twist: Use cookie cutters or twist into spirals.
Place your pastries on a parchment-lined baking sheet and add your filling in the center—1 tablespoon of cream cheese, jam, or lemon curd works perfectly.
Cover loosely and let them proof at room temp for 4–6 hours, or until puffy and slightly jiggly. For best results, avoid hot environments—cool and slow is the goal here.
Step 5: Bake & Finish
Preheat your oven to 400°F (200°C). Brush pastries with egg wash (avoiding the filling).
Bake for 15–20 minutes, or until golden, flaky, and puffed. If your fillings are browning too fast, loosely tent with foil.
Cool slightly on a rack before dusting with powdered sugar or drizzling with icing.
Tips for Success
Keep everything cold. Chilled dough and butter are the key to distinct, flaky layers.
Work quickly. If your butter starts to melt while rolling, pause and re-chill.
Don’t overfill. Too much filling can spill out during baking.
Use active starter. Make sure your starter is bubbly and strong before using.
Flavor Ideas & Seasonal Variations
This dough is a blank canvas—get creative!
Fall Favorites: Apple butter + cinnamon sugar
Spring Brunch: Lemon curd + poppy seeds
Summer Vibes: Blueberry jam + cream cheese swirl
Holiday Glam: Cherry preserves + almond glaze + slivered almonds
Storage & Make Ahead
Same Day: Best enjoyed fresh, but can be stored in an airtight container for 1–2 days.
Reheat: Warm in a 300°F oven for 5–7 minutes.
Freeze: Shape your Danishes, freeze before final proof, and bake from frozen—just add a few extra minutes.
Frequently Asked Questions
Q: Can I make these Danishes without folding the butter in?
A: That’s what makes them a Danish! The lamination gives them their classic flakiness. But if you're in a pinch, you can use a rough puff pastry technique.
Q: My butter leaked out—what happened?
A: Likely the dough or butter got too warm. Chill often and try not to overwork the dough.
Q: Can I use discard instead of active starter?
A: For this recipe, active starter is best to ensure a good rise. Discard won’t give you the lift needed for laminated pastries.
Final Thoughts
If you’ve ever admired those flaky, glossy, fruit-filled Danishes at your local bakery and thought, “There’s no way I could make that,”—think again. This sourdough Danish pastry recipe brings all the beauty and flavor of the classics, but with the added bonus of natural fermentation and homemade pride.
With a little patience and a whole lot of butter, you’ll create a pastry that’s delicate, tangy, and totally irresistible. Perfect for weekend baking projects, birthday breakfasts, or cozy holiday mornings.
So grab your rolling pin, dust your counter with flour, and get ready to impress yourself. You can make real Danish pastry at home—and it’s even better with sourdough.
SAVE IT FOR LATER!
Pin this recipe for your next holiday brunch, Easter breakfast, or weekend baking day. These sourdough Danishes are flaky, rich, and totally worth the wait.
Sourdough
Explore delicious sourdough recipes and tips today!
Make sure to follow us on our social media platforms!
contact us
Custom Orders
theivoryoven.co@gmail.com
© 2025. All rights reserved.