Add your promotional text...

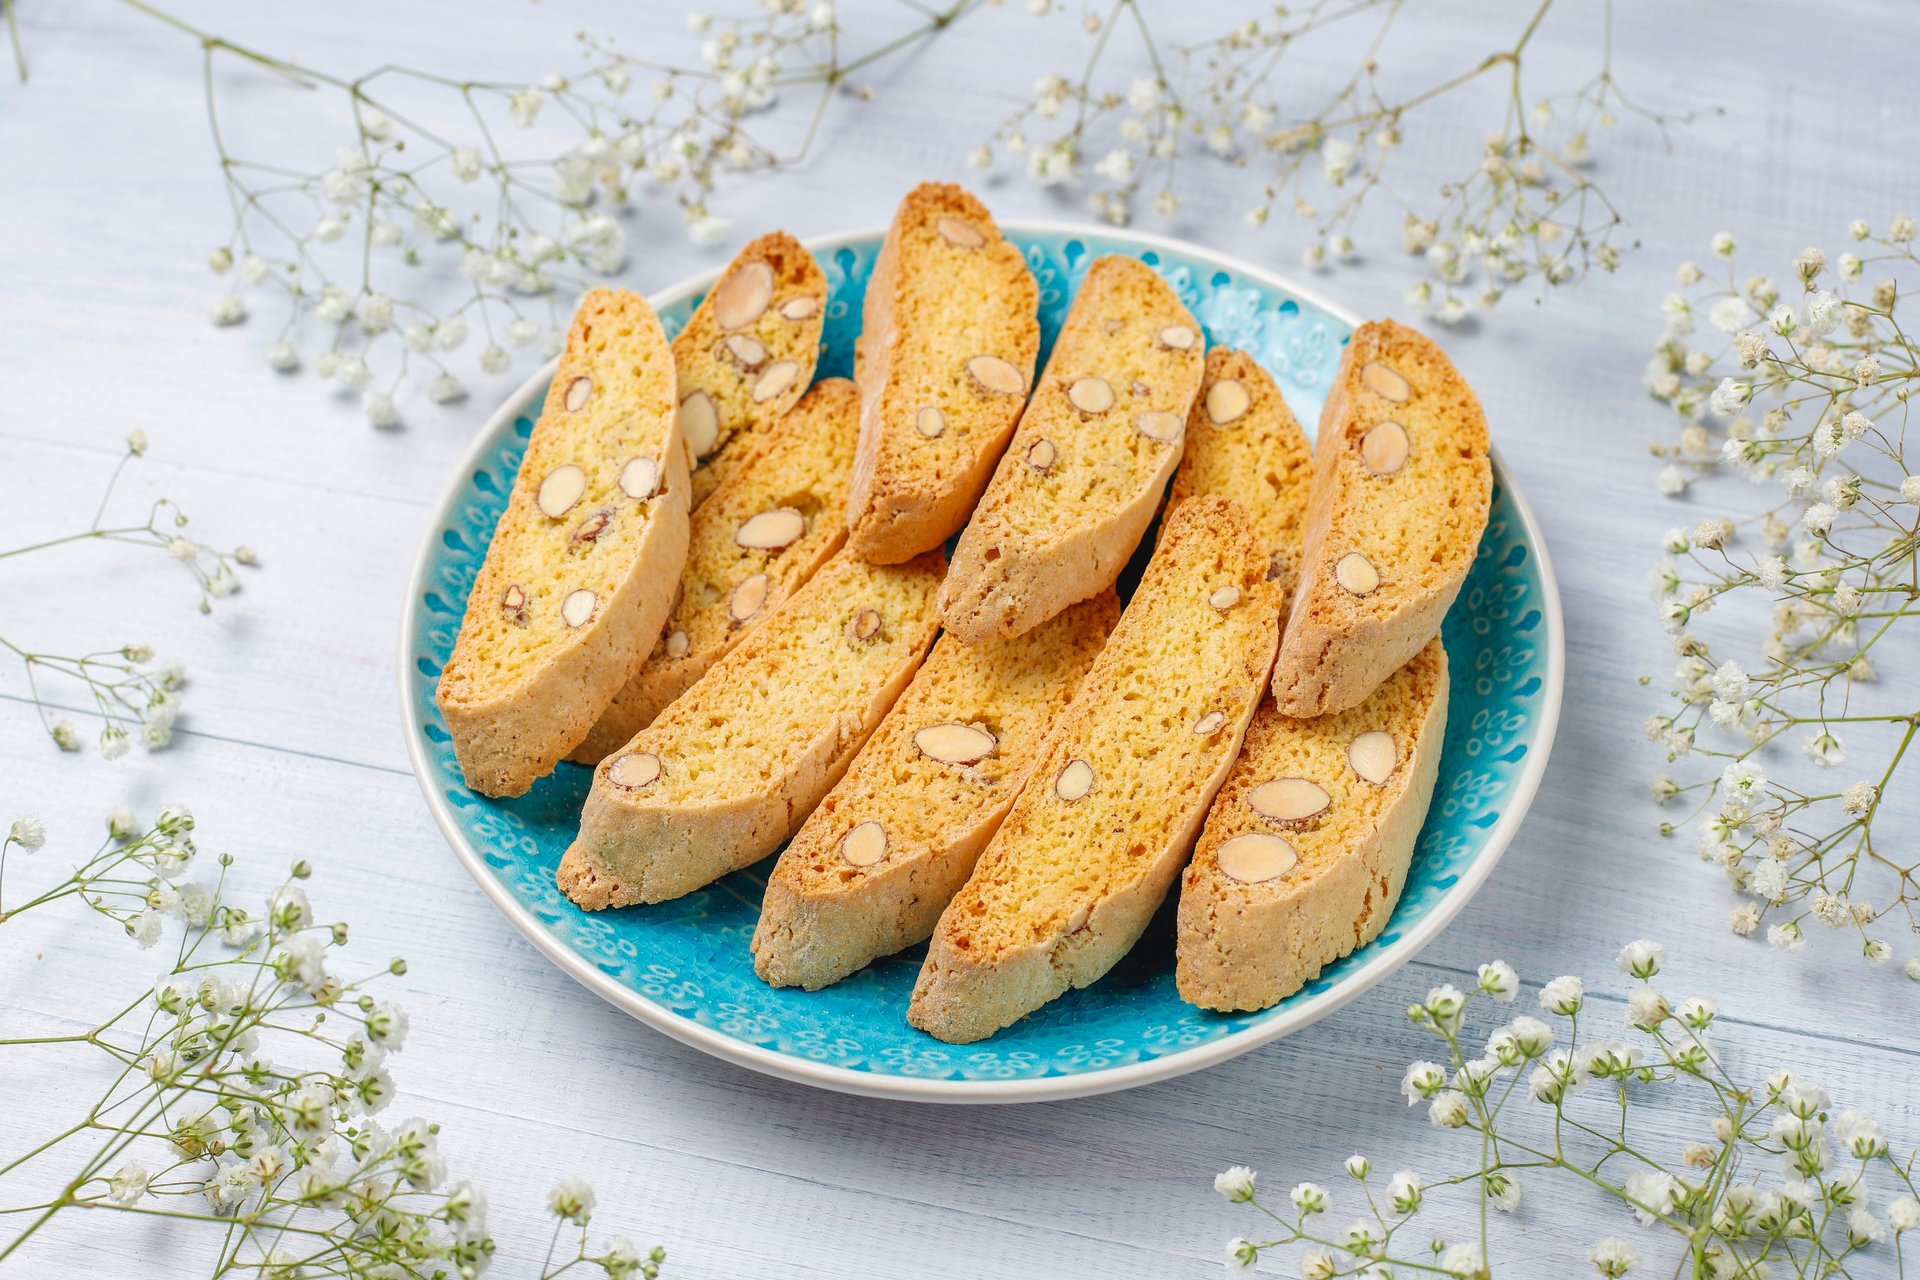
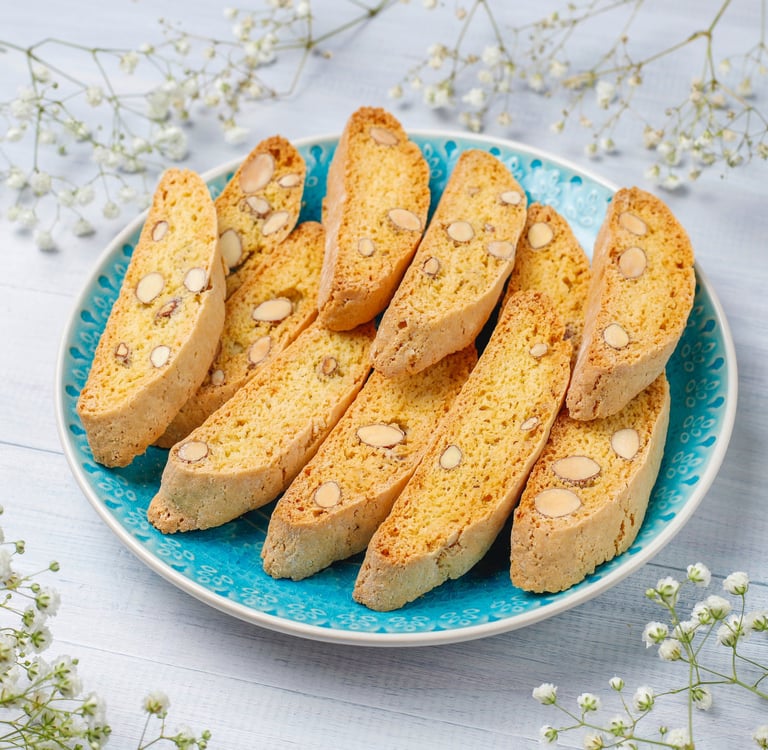
Sourdough Biscotti
Crunchy, Tangy, Twice‑Baked Italian Cookies
RECIPESDISCARD
6/12/20255 min read
There’s something charming about biscotti. Maybe it’s their satisfying crunch, their endless flavor combinations, or the fact that they practically beg to be dipped into a hot drink. When you add sourdough discard to the mix, biscotti become even more irresistible—tangy, toasty, and a wonderful use of what would otherwise go to waste.
In this post, I’ll guide you through a step-by-step process to make your own sourdough biscotti. Whether you’re baking for yourself, for a holiday gift box, or just to enjoy a cozy moment with coffee, these biscotti are perfect. And if you’ve never made biscotti before, don’t worry—this method is beginner-friendly, completely customizable, and incredibly rewarding.
So preheat your oven and grab your sourdough discard—it’s biscotti time.
A Brief Biscotti Background
Biscotti (also called cantucci) are traditional Italian cookies that are baked twice. The first bake sets the dough in a loaf-like form, and the second dries it out, creating that signature crunch. They're durable, long-lasting, and ideal for dipping into espresso, tea, or even sweet dessert wine like Vin Santo.
The name “biscotti” comes from Latin—“bis” meaning twice and “coctus” meaning baked. In ancient times, twice-baking meant a longer shelf life, which made these cookies essential for long journeys. Now, it’s just a delicious tradition.
Sourdough biscotti is a modern spin on that tradition. Instead of being a sweet treat made with just eggs, flour, and sugar, the addition of sourdough starter (either active or discard) adds complexity, flavor depth, and a slightly chewy, tangy crumb.
Why Sourdough in Biscotti?
Sourdough discard is one of my favorite ingredients to experiment with. It’s often overlooked or tossed away, but it’s full of flavor and potential. In biscotti, sourdough discard brings:
Tangy flavor: That slightly sour tang balances sweet mix-ins like chocolate or dried fruit.
Beautiful texture: A touch of chew in the center, and crisp edges after the second bake.
Reduced waste: It’s a smart way to use discard between bread-baking days.
Better structure: The starter adds body and improves the overall crumb.
Sourdough character: You can taste the fermentation—subtle but elegant.
Tools You’ll Need
Electric mixer (optional)
Measuring cups and spoons
Kitchen scale (recommended for accuracy)
Sharp serrated knife
Rubber spatula
Parchment paper
Wire rack for cooling
Ingredients
This is a base recipe, but feel free to customize. This version includes cranberries and almonds, but I’ll list tons of variations later.
Dry:
3½ cups (425g) King Arthur all-purpose flour
1½ cups (300g) granulated sugar
1 tablespoon baking powder
½ teaspoon salt
Wet:
1 cup (240g) sourdough discard
2 large eggs (room temperature)
1 teaspoon vanilla extract
Zest of 1 orange or lemon (optional)
¼ cup (60ml) neutral oil or melted butter
Mix-ins:
1 cup almonds, toasted and chopped
½ cup dried cranberries or cherries
Optional: ½ cup chocolate chips or chunks
Step-by-Step Instructions
1. Prep the oven and pans
Preheat oven to 350°F (175°C). Line a large baking sheet with parchment paper. Toast the almonds in a dry skillet or oven for 5–8 minutes until golden and fragrant. Let them cool completely before adding them to the dough.
2. Mix the wet ingredients
In a large mixing bowl, whisk together the sourdough discard, eggs, oil or butter, vanilla, and citrus zest until smooth and creamy.
3. Mix the dry ingredients
In a separate bowl, whisk together the flour, sugar, baking powder, and salt. This ensures even distribution before adding them to the wet mix.
4. Combine and knead
Gradually add the dry ingredients to the wet ingredients, mixing until a soft, sticky dough forms. Fold in your almonds and cranberries. If it’s too sticky to handle, let it rest in the fridge for 15–30 minutes.
5. Shape the logs
Divide the dough in half. On your parchment-lined sheet, shape each half into a long log, about 10-12 inches long and 2-3 inches wide. Flatten slightly so it’s even in thickness. Leave 2-3 inches of space between logs for spreading.
6. First bake
Bake the logs at 350°F for 25-30 minutes or until they’re golden and set. The tops may crack slightly, and that’s perfect. Remove from the oven and let them cool on the baking sheet for 10-15 minutes.
7. Slice
Use a sharp serrated knife to cut each log diagonally into ½ to ¾-inch slices. Don’t rush this—cutting while too hot will crumble, and too cool will resist the knife.
8. Second bake
Reduce the oven temperature to 300°F (150°C). Lay the slices cut side down on the baking sheet. Bake for 10-12 minutes, then flip and bake another 8-10 minutes, or until golden and crisp.
9. Cool completely
Transfer biscotti to a wire rack and let them cool fully. They’ll continue to harden as they cool, so don’t worry if they’re a little soft right out of the oven.
Storage and Serving
These biscotti will stay fresh for up to 3 weeks in an airtight container. They also freeze beautifully—just wrap tightly and freeze for up to 3 months.
Enjoy with coffee, tea, or even dipped in dessert wine or hot cocoa. They make excellent gifts wrapped in parchment and ribbon.
Flavor Variations
Here’s where the fun starts. Once you’ve mastered the base, you can customize endlessly:
Nuts
Almonds (classic)
Pistachios (vibrant green color)
Hazelnuts
Pecans or walnuts
Dried Fruit
Cranberries
Cherries
Apricots (chopped)
Blueberries
Raisins or golden raisins
Sweet Mix-Ins
Chocolate chips (white, milk, or dark)
Cocoa nibs
Espresso powder
Coconut flakes
Toffee bits
Flavor Enhancers
Cinnamon, nutmeg, cardamom
Citrus zest (lemon, orange, grapefruit)
Almond or anise extract
Espresso or cocoa powder
Personal Touches & Storytelling
Baking biscotti with my sourdough starter felt like the perfect blend of tradition and innovation. It’s an old-world recipe meeting the sustainability of modern baking. The tang from the starter gives these biscotti such a distinct depth of flavor that they instantly became my go-to afternoon snack.
I like to bake a double batch and package them as gifts. Whether it’s a holiday cookie tin, a thank-you gift for a teacher, or a just-because gesture for a friend, sourdough biscotti are always a hit. They look elegant, keep well, and taste even better after a few days.
Troubleshooting
Dough too sticky?
Chill it! Cold dough is easier to handle and shape.
Logs spreading too much?
Make sure your dough isn’t too warm and don’t overmix.
Biscotti too hard?
Reduce second bake time slightly or slice a little thicker.
Biscotti too soft?
Let them cool completely; they firm up as they cool.
Uneven slices?
Use a sharp serrated knife in long, smooth strokes.
Sourdough Biscotti FAQ
Can I use active starter instead of discard?
Yes! Active starter works beautifully and gives slightly more lift.
What hydration should my starter be?
Use 100% hydration (equal parts flour and water by weight) for best results.
Can I make these gluten-free?
Yes, with a 1:1 gluten-free flour blend and a slightly longer rest period.
Do I need a stand mixer?
Nope. A whisk, spatula, and your hands are plenty.
Do I have to toast the nuts?
It’s optional, but toasting deepens flavor and adds crunch.
Final Thoughts
Baking sourdough biscotti isn’t just about making cookies—it’s about crafting something thoughtful from scratch. It’s about honoring old traditions while celebrating your creativity. Whether you dip them in coffee, dress them up with white chocolate, or keep them plain and simple, they’re always impressive and always delicious.
This recipe is endlessly flexible, deeply satisfying, and a great way to use up sourdough discard in something sweet.
Sourdough
Explore delicious sourdough recipes and tips today!
Make sure to follow us on our social media platforms!
contact us
Custom Orders
theivoryoven.co@gmail.com
© 2025. All rights reserved.